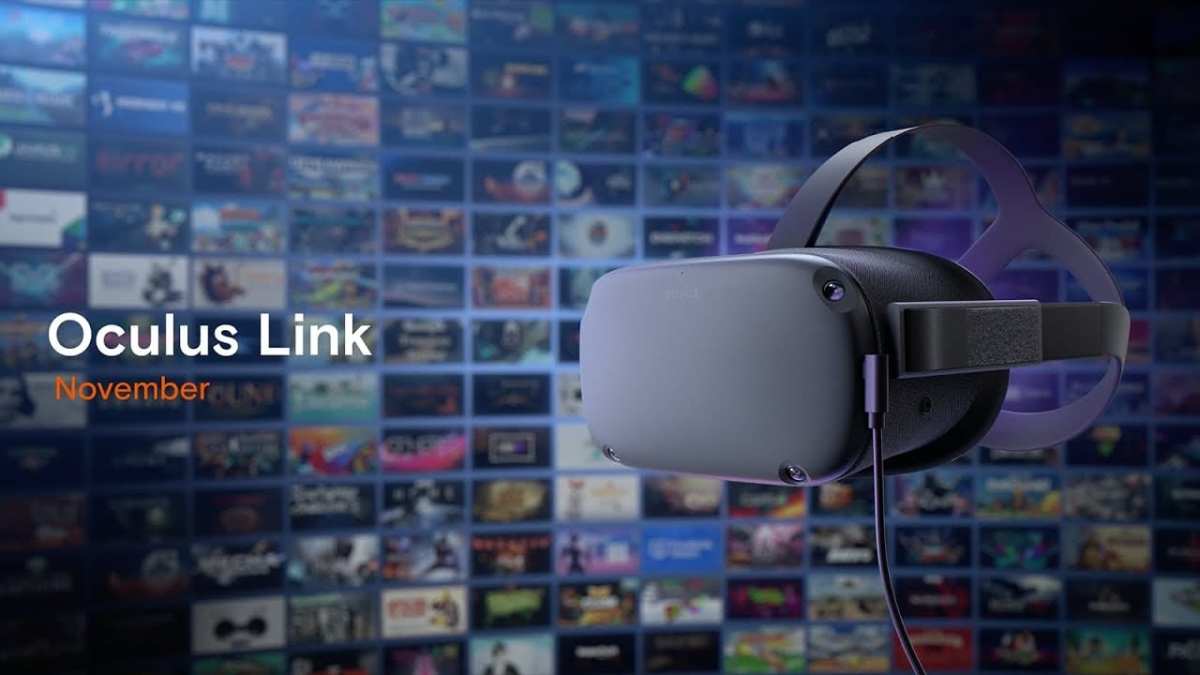
With the Oculus Quest 2 now available, a lot of players will be able to experience the likes of Beat Saber and Superhot VR for the first time. However, the games you can play with your new Quest 2 headset in its standard wireless form are quite limited. So that you can experience the likes of Asgard’s Wrath and Half Life: Alyx, here’s everything you need to know about how to use Oculus Link with Oculus Quest.
If you’re unaware, while the selling point of the Oculus Quest is VR on the go, without any wires to get in the way, some of the more power intensive games available on the headset require you to connect the headset to a PC. That’s where the Oculus Link comes in.
How to Use Oculus Link for Oculus Quest
First things first, you’ll need a compatible cable and a PC that fits the right specifications. For the latter, you can compare your system’s info with the recommended specifications on Oculus’ website.
For the cable, you’ll need a USB-C cable to run between your headset and PC. While you can buy the official Oculus Link cable, you should be able to get a cheaper one that’ll do just as good a job, provided it’s decent quality.
Then, download the Oculus Quest software on your PC, the link for which you should find here. Once it is all installed, connect your Quest 2 headset to the PC with the cable.
Once your headset has found your PC, you’ve got to follow the initial set-up instructions. It’s nice and easy – just select the headset you’re using and sign in.
Finally, a prompt should appear while you have your headset on, confirming that you want to enable Oculus Link. From there, you can play Oculus Rift games directly or use SteamVR on your PC to try games that can only be purchased from Valve’s store.
That’s everything you need to know about how to use Oculus Link with Oculus Quest. For more tips and tricks on all things VR, be sure to search for Twinfinite.


Published: Oct 15, 2020 01:14 pm