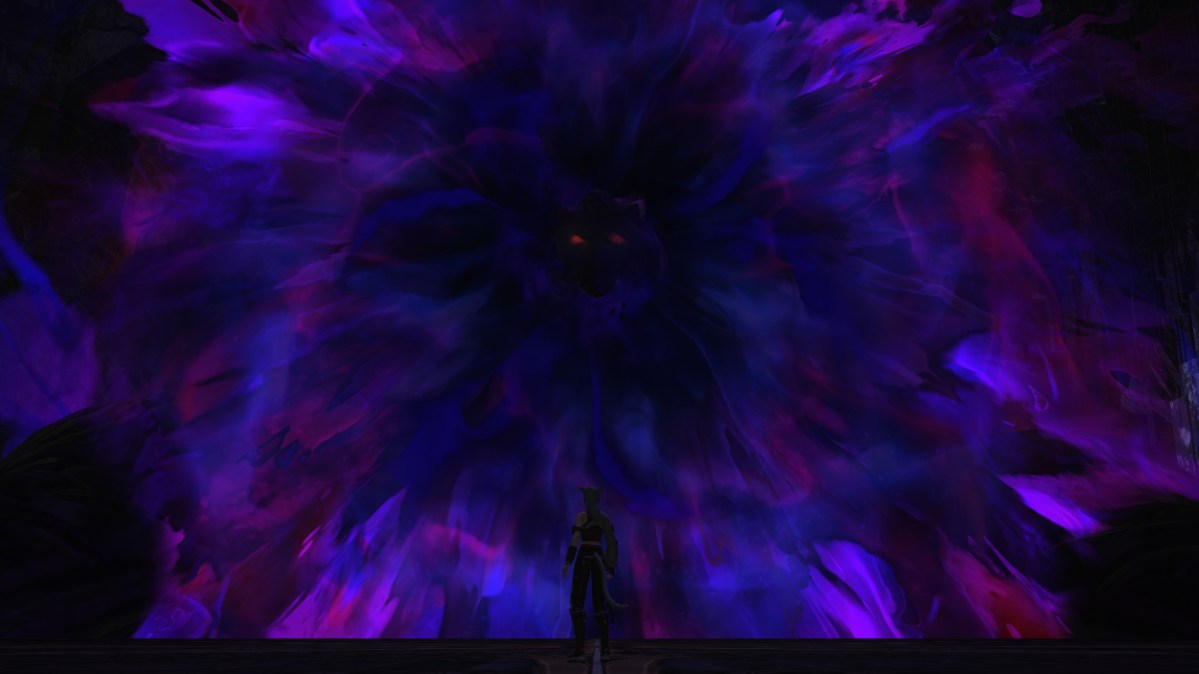
The newly released Patch 6.5 of Final Fantasy XIV has brought an abundance of new content for players, including the final primal trial for the Endwalker expansion — The Abyssal Fracture. Players are set to face off against an entity known as Zeromus, lurking within the depths of the Red Moon. If you’re wondering what to expect in terms of mechanics from this fight, here is our FFXIV Abyssal Fracture (Normal) Trial Guide.
How & Where to Unlock The Abyssal Fracture (Normal) Trial in FFXIV
In order to participate in this new trial, you’ll need to first pick up Main Scenario quest “Down in the Dark” soon after completing the Lunar Subterrane dungeon. After some cutscenes, the trial will unlock and be available to select in the Duty Finder menu.
Before you queue up, bear in mind that your chosen combat class will need to have a minimum item level of 625. This can be achieved pretty easily with Comedy Tomestone gear that you can purchase in Radz-at-Han, as well as a Manderville Relic Weapon which you only need to exchange tomes to create and improve.
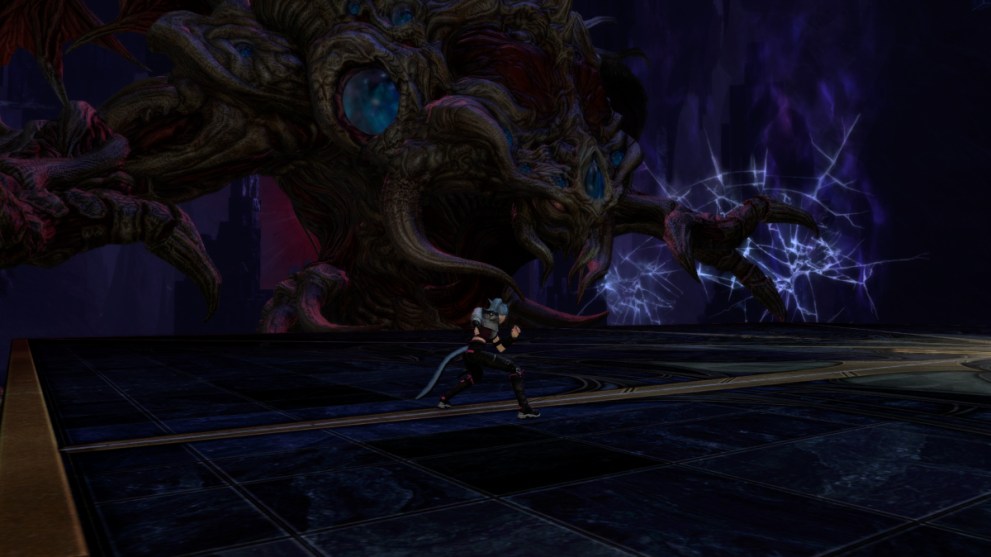
How to Defeat Zeromus in the Abyssal Fracture (Normal) Trial in FFXIV
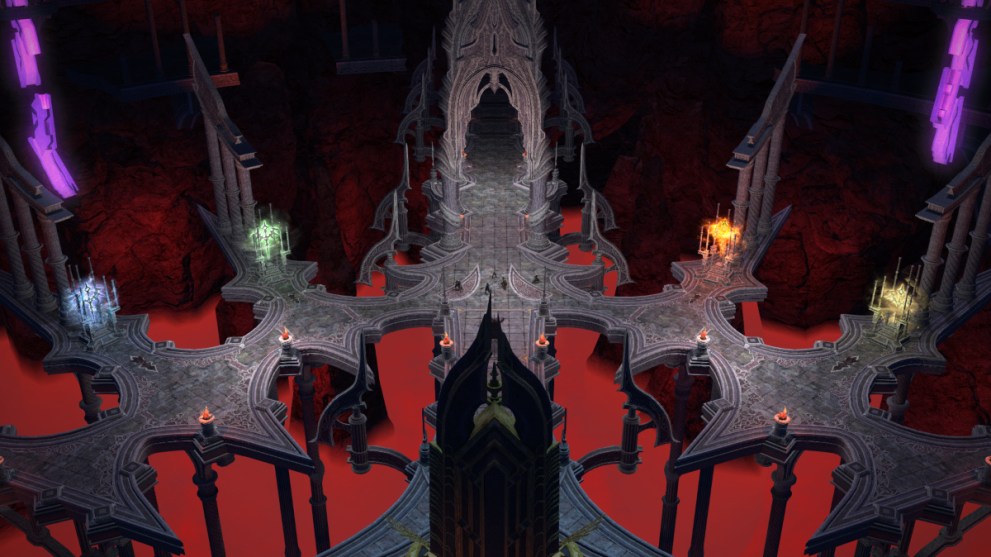
As soon as you drop in, get yourself acquainted with the square-shaped arena. You’ll notice that it’s ironically reminiscent of Zodiark’s arena, basically a redux, and a mechanic or two will seem a bit similar as well. Thankfully no spinning around this time though.
Here is the entire list of mechanics you will encounter in this fight, in the order which they occur:
- Abyssal Nox – A raid-wide AoE that takes every party member down to 1 HP and gives a Doom debuff. A big heal check, so healers be prepared right off the bat to get everyone back up to full quickly.
- 4 white lines will then spawn from the center of the arena and move out in a narrow X-formation. Two lines will only extend halfway out, while the other two lines extend to far corners of the arena. Circle AoEs spawn at the end of each line, so move out of the way.
- Sable Thread – A group line stack AoE. Everyone stack up for multiple hits. Tanks should be in front to help mitigate damage.
- Visceral Whirl – Two columns of purple line AoEs spawn in a diagonal T-formation that leaves two small safe areas (for us it was the northeast corner or the southwest corner).
- Dark Matter – Large, single-target tankbuster attack. Marked tank mitigate through it.
- Flare – A large tower AoE will spawn that the entire party must stack in. A giant fireball will drop, then all players immediately run out to dodge the 4 fire lines that spawn and explode a short time later.
- At the same time, two players (for us a tank and healer) will be marked with a yellow tracking AoE marker. Run these out to one of the bottom safe corners away from the group and dodge the large circle AoEs that spawn as a result.
- Void Bio / Visceral Whirl – The same large, purple T-formation AoE will spawn diagonally along with a set of green poison orbs that will move across the room at varying speeds. Dodge both while standing in one of the two corner-side safe areas.
- Big Bang – Markers will appear over everyone’s heads and spawn small circle AoEs. Dodge them as consecutive raid-wide AoEs go off that inflict damage plus a different debuff each time.
- The first debuff will drop your max HP gauge by nearly half, so be sure to stay topped off.
- The second debuff will mark each player with an Acceleration Bomb. These explode on a timer, so keep an eye on it and stop moving and attacking once it’s set to detonate. If you succeed you’ll take no damage, but if you get flogged by the detonation you’ll take serious damage and a vulnerability stack.
- The last sub-mechanic is a large group stack that will spawn several circle AoEs, so dodge out afterward.
- Meteor Impact – All players will get marked with a purple tether that you must stretch out to the edge of the arena to avoid damage. Have the group stretch out in a clock formation so everyone has room.
- Fractured Eventide – Move up close to the boss and behind the anticipated direction of the purple arrow line AoE. Meanwhile a big circle AoE will spawn on the south edge of the arena. Zeromus will fire a beam that moves from left to right across the arena, so track behind it while staying away from the growing circle AoE to the south. It will grow to swallow nearly the entire arena, so go all the way to the far corner safe spot.
- Void Meteor – The whole party must stack in the center to avoid 4 meteor AoEs in each corner of the arena that deal distance-based damage. Rock meteors will land afterward for the next mechanic.
- Meteor Impact 2 – All players will get the same purple tether that they need to stretch out to the edge of the arena again, though the space to do so will be smaller now. Players also must avoid the rock meteors, as they will explode afterward.
- Big Crunch – Multiple small circle AoEs spawn around the arena, so dodge them all accordingly. A raid-wide will hit as well, so heal and mitigate through it.
- Rend the Rift – Another raid-wide attack followed by more small AoEs to dodge.
- Nostalgia – Zeromus will punch the arena multiple times, causing multiple raid wide attacks. Heal and mitigate as much as possible.
- Flow of the Abyss – Zeromus will tether a wall crack on the far side of the arena, cause a big line AoE straight through the middle. Several small circle AoEs will spawn at the same time, so be ready to dodge.
- Chasmic Nails – Zeromus will telegraph 5 red, conal-shaped AoE attacks that emerge from its side of the arena and fan outward. Make note of where the first conal AoE will be and stand close to it and move in after it goes off to stay safe for the rest of the mechanic.
That concludes our FFXIV The Abyssal Fracture (Normal) Trial guide. We hope you find this helpful in taking on one of Endwalker’s final villains, and let us know what you think of this particular fight compared to the rest of the expansion’s trials.
Be sure to check out all of our other Final Fantasy XIV guides, such as our official patch notes guide for Patch 6.5.


Updated: Oct 22, 2023 02:14 pm