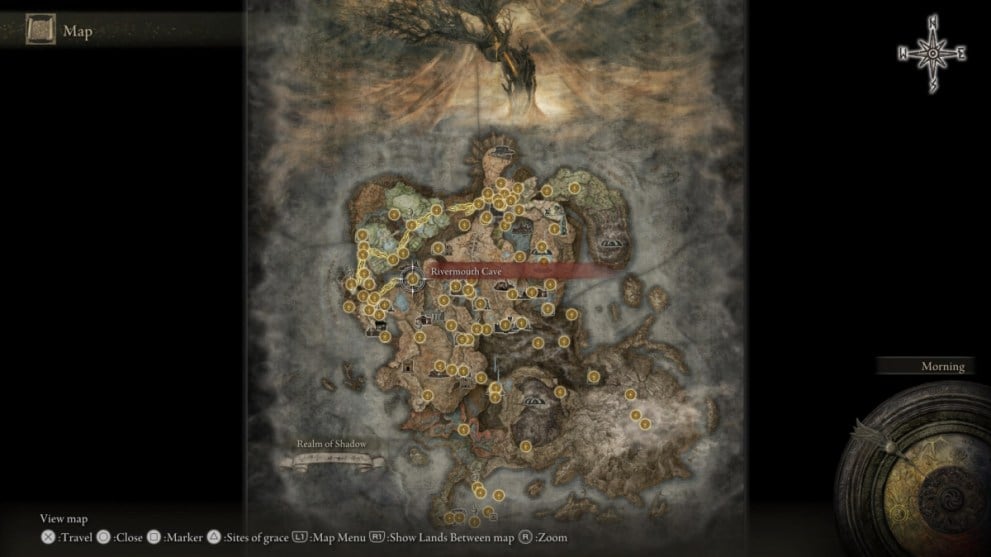
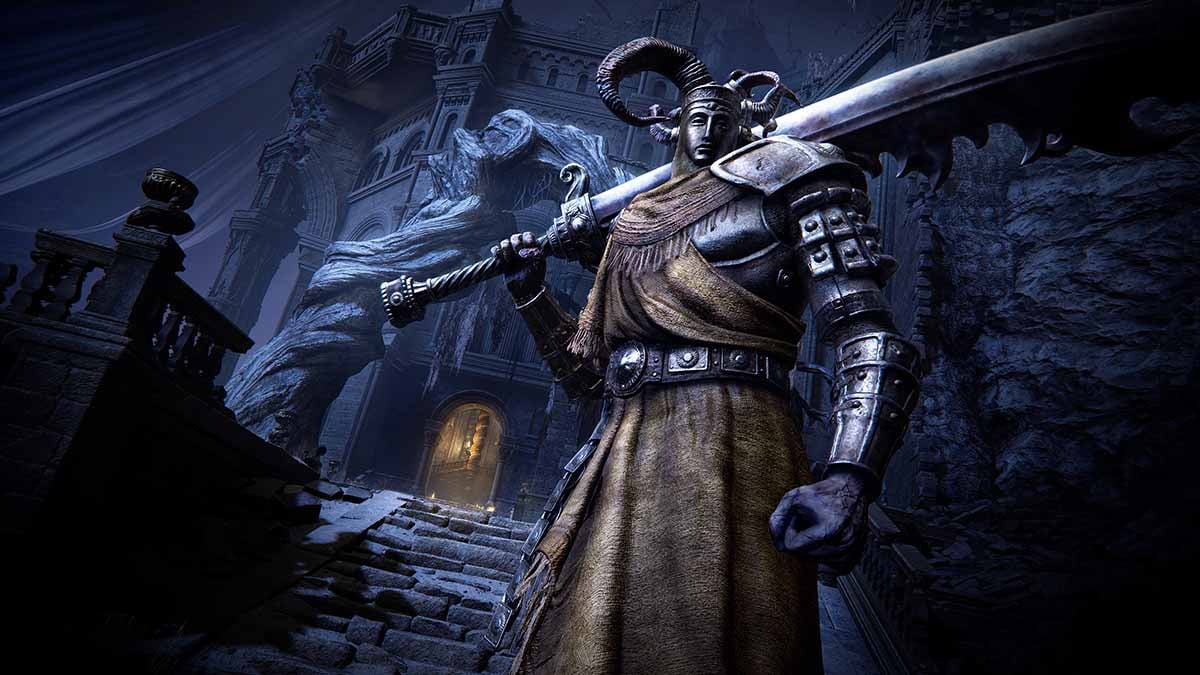
Shadow of the Erdtree is just as massive as you’d expect; so much so that even Elden Ring veterans might be overwhelmed by just how many areas there are to explore. That’s why we’ve put together this guide on the best area order to help you figure out where you need to go to ensure steady progress.
Best Area Order for Main Story Progress in Elden Ring Shadow of the Erdtree

While you might technically have a ton of freedom in term of where you can go in Elden Ring Shadow of the Erdtree, there is a specific area order you’ll want to follow for main story progression in particular. This is largely due to the DLC’s approach to level scaling. Instead of playing purely off of your Level, it tweaks its difficulty based on how many Scadutree Fragments and Revered Spirit Ash you’ve found and used.
As such, we found the area order listed down below to be the best in terms of progression. Bare in mind that some areas aren’t integral to progressing the main quest, and you can skip them accordingly. These areas have been marked accordingly with asterisks.
| Area Name | When You Should Go There | How to Reach it |
|---|---|---|
| Gravesite Plain | Starting area, so you can explore it as you wish without issue. | You start the DLC here. |
| Belarut, Tower Settlement | This should be your first stop after you speak to Needle Knight Leda and her allies. Its enemies are fairly easy to deal with, and there are a good number of Scadutree Fragments and Revered Spirit Ash for you to collect throughout the area. | Head due west from the Three-Path Cross Site of Grace through the tunnel passage. |
| Castle Ennis | You should save this location for after you defeat the Divine Beast boss and clear the Belarut area. Its enemies are a little trickier to defeat, but they’ll be easier to manage with the items found in the last area. It’s likewise host to some Scadutree Fragments and Revered Spirit Ashes of its own which you can collect at your leisure. | From the Three-Path Cross Site of Grace, head northeast across the Ellac Great Bridge. Continue along the road until you reach the castle. |
| Shadow Keep | This area becomes available after you clear Castle Ennis, and you should head there post-haste. Your time spent in the last two areas should have prepared you for it, and it’s home to plenty of collectibles you can use to power yourself up. | After defeating the boss in Castle Ennis, continue along the road leading north toward the massive fortress in the distance. Can also start at the Highroad Cross Site of Grace and head due north. |
| Rauh Ancient Ruins | We recommend saving this area until after you defeat the main boss found in the Shadow Keep. Its enemies can be impressively bulky and difficult to deal with, so you’ll need all of the Scadutree Fragments and Revered Spirit Ashes from the previous areas to stand the best chance against them. | From the Storehouse, First Floor Site of Grace, head west through the passages and medical area until you reach an elevator. Take the elevator down, and then head west from the West Rampart Site of Grace across a massive bridge. |
| Enir Ilim | This is the final area tied to the main story’s best area order, and you can only access it after clearing all of the previous areas listed above. We should note, however, that the final boss of the DLC’s story is incredibly difficult to beat, and it’s highly recommended you head to some of the optional areas listed below to further buff yourself with Scadutree Fragments and Revered Spirit Ashes as needed. | Automatically teleported to this area after you burn the seal trees in the Church of the Bud using Messmer’s Kindling. |
| Cerulean Coast* | Though mainly tied to the progression of some of the DLC’s character quests, this area is still worth a look if you want to take on some moderately difficult enemies and obtain some valuable items. *This area isn’t needed to progress the main story. | From the Castle Front Site of Grace, head south along the road and take the hill leading downward. Follow the road until you come to a poison swamp, and then look for a section leading further downward toward the Ellac River. Continue downward toward the river, and then follow it down south until it empties you out into the Cerulean Coast. |
| Finger Ruins of Rhia, Dheo, and Miyr* | These areas aren’t all that substantial on their own, but they are necessary if you want to complete the Ymir character quest. consider taking them on later in your run to minimize headaches and time spent in less lucrative areas. *This area isn’t needed to progress the main story. | While each is accessible before you start Ymir’s quest, it’s much easier to do after you’ve started this side task. As such, you can check out our dedicated quest guide on the subject for detailed instructions. |
| Scaduview and Tree-Worshipping Sanctum* | These sub-areas can each be accessed while you explore the Shadow Keep, but it’s best to save them for after you’ve progressed the main story a bit. With that said though, you can get a decent haul of Scadutree Fragments from them, so it’s worth doing them sooner rather than later. *This area isn’t needed to progress the main story. | For the Scaduview, you’ll need to head to the highest point of the Storehouse. You can do so by heading up the stairs, ladders, and lifts starting from the Storehouse, First Floor Site of Grace and then taking the stone elevator down. For the Tree-Worshipping Sanctum, approach the Shadow Keep from the east via the flooded Church District. Make your way across the jumpable platforms until you can drop into a building via a broken roof. From there, look for a lever that lets you drain the district and then look for an elevator leading down. Take the elevator, and then head forward into the base of the Scadutree and the Tree-Worshipping Sanctum. |
| The Fissure* | Though it isn’t too hard to progress through this area, it is best to hold off on heading here until later in your playthrough. Doing so ensures you won’t struggle too much with its standard enemies or its boss. *This area isn’t needed to progress the main story. | From the Cerulean Coast, head southwest toward the southern tip of the continent. Make your way to the bottom right corner of the landmass, and you’ll find a dungeon you can enter to reach this underground area. |
| Abyssal Woods* | Best to head here after you’ve accessed Enir Ilim. It has several of the same enemies from that area, and is best saved for when you need to power up for your fight with the final boss. *This area isn’t needed to progress the main story. | From the Shadow Keep main entrance, head toward the area with burning boats and then look for a ladder leading down to the waterways. Then, look for a room with a painting and attack the illusory wall with torches on either side of it. Head through the newly revealed passage, and then jump in the coffin to ride it down to the lowest level of the map. From there, follow the river south and jump down the stones to lower and lower levels. Continue until you reach the Darklight Catacombs, and then clear the dungeon to exit out into the Abyssal Woods. |
| Jagged Peak* | This area is home to one of the more difficult optional bosses in the game, and that’s not counting the gauntlet of other mini bosses you need to defeat on the way to him. consider saving this for the last of the optional areas you visit. *This area isn’t needed to progress the main story. | From the Castle Front Site of Grace, head southeast along the road leading up a hill. Continue down the road until you see a pillar in the distance, and then head toward that as a landmark. After you reach the pillar, head down to the bottom right corner of the landmass and look for the Dragon’s Pit Terminus. Make your way through the dungeon, and then use the exit at the end of the dungeon to reach the Jagged Peak. |
And that covers everything you need to know about the best area order for main story progression in Elden Ring Shadow of the Erdtree. For more on the game, we’ve got guides dedicated to the best build for Shadow of the Erdtree and how to beat Furnace Golems.
