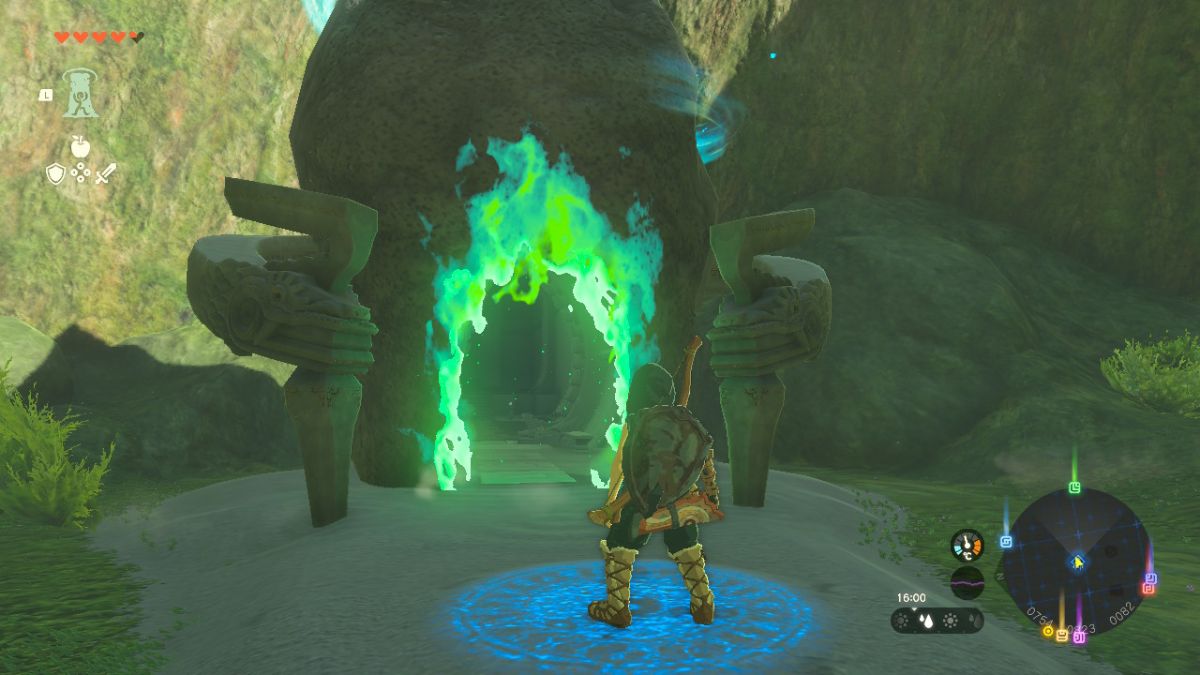
The Legend of Zelda: Tears of the Kingdom is home to the massive world map of Hyrule, consisting of many different terrains and locations to explore. Within these locations are a variety of Shrines for Link to discover, solve and complete along his journey to save Princess Zelda. However, sometimes these Shrines can be much trickier to solve than anticipated. If you need help with Ren-Iz Shrine, look no further; we have all the information you’ll need to make it through. Here’s everything you need to know about how to solve the Ren-Iz Shrine puzzle in Zelda: Tears of the Kingdom.
Ren-Iz Shrine Puzzle Solution in Zelda: Tears of the Kingdom
In Zelda: Tears of the Kingdom, Ren-Iz Shrine is all about making various ramps and platforms to allow large spheres to clear significant gaps, reach new checkpoints, and unlock gates for you to progress through. Hence the puzzle being titled ‘Jump the Ramps.’
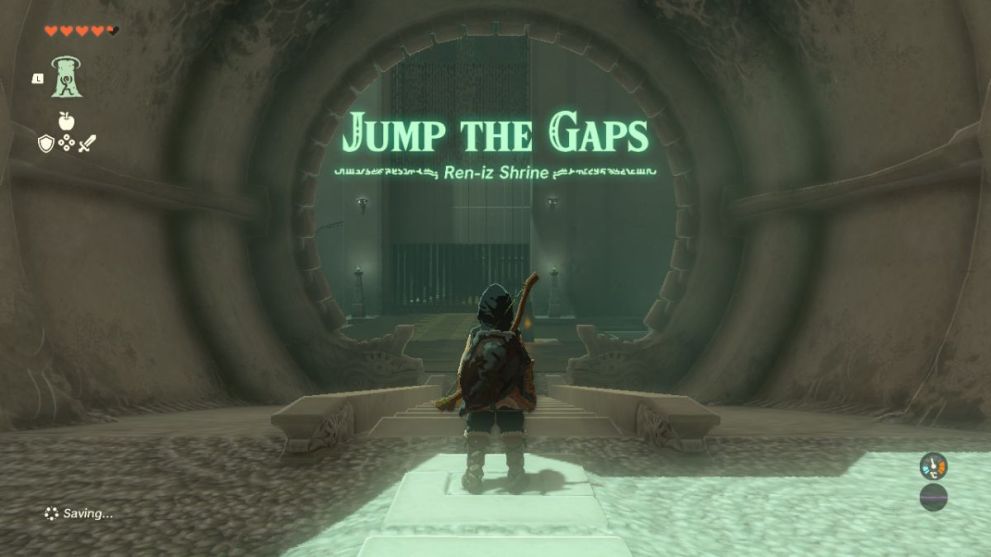
After the initial Shrine intro scene has played out, head down the stairs and enter the first room. This room has a large ramp sloping down on the left side. This ramp will dispense a giant sphere to roll down it when you hit the glowing orange pillar on the right side of the room with a melee attack.
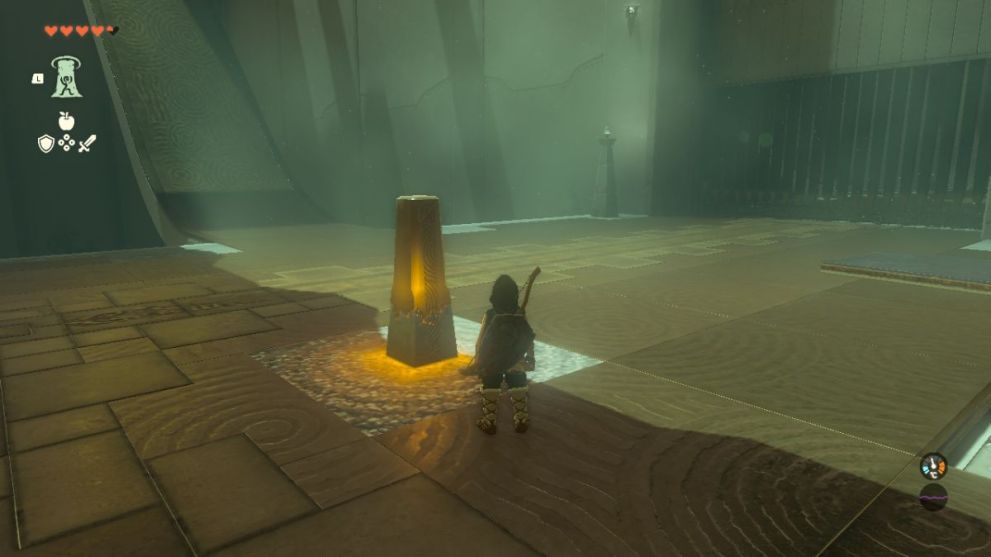
There is also a large metal plate located in this room, which you will need to create a ramp for the sphere, allowing it to fly over the gap and land on the platform on the far right side.
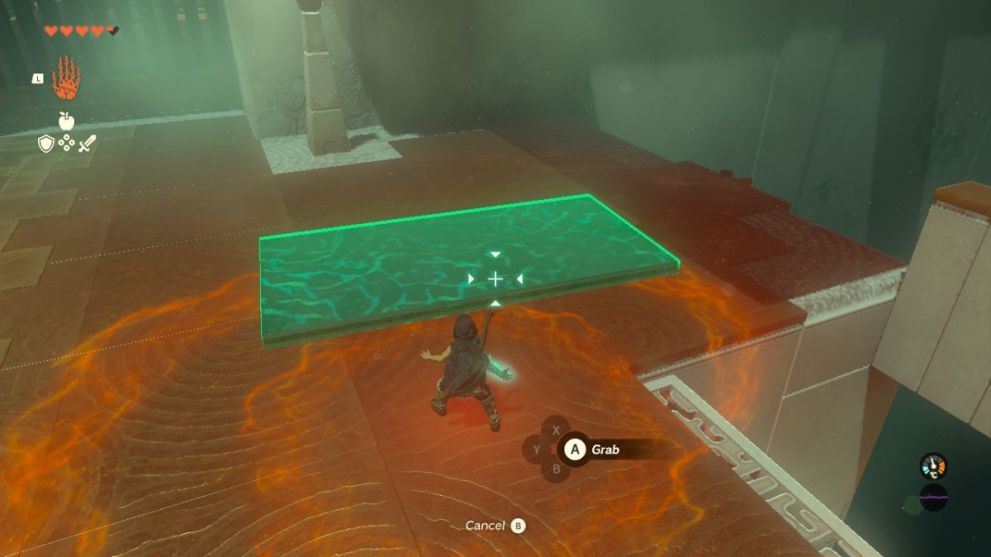
First, you’ll need to drag the large metal plate with the use of Link’s Ultrahand ability and then rotate and align it to create a ramp across the small gap, as seen in the image below:
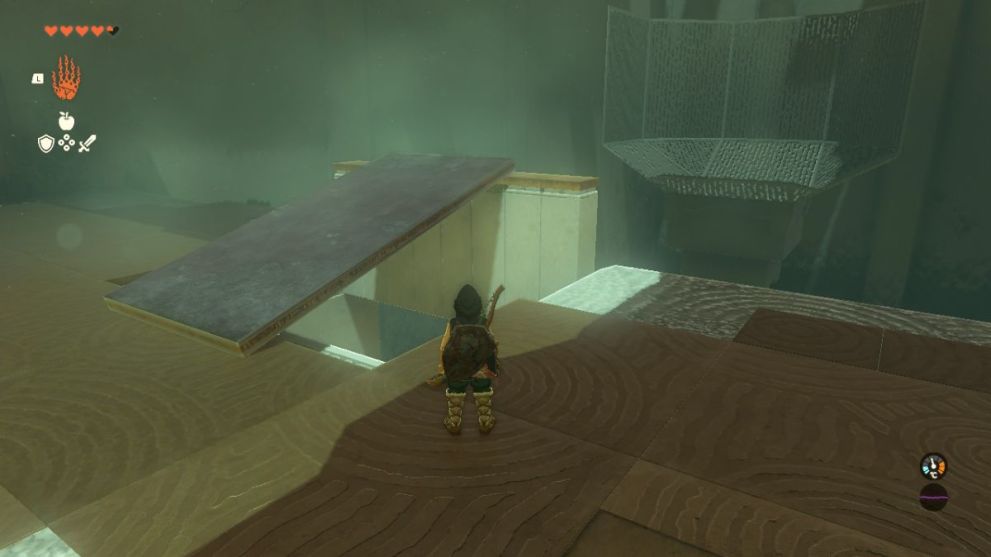
Once you’ve got this ramp all set up, head back over to the glowing orange pillar and hit it with one of your melee weapons to release the giant sphere. If you’ve lined the ramp up correctly, the sphere should easily jump over the large gap on the right side of the Shrine and land in the basket-shaped structure. Don’t worry if you don’t get it on your first try, though, as the sphere will automatically respawn, meaning you can just hit the orange pillar again once you’ve fixed the positioning of your ramp.
Once you successfully land the sphere in the basket-shaped structure, it will activate a button and unlock the gate, allowing you to progress into the next room and continue the puzzle.
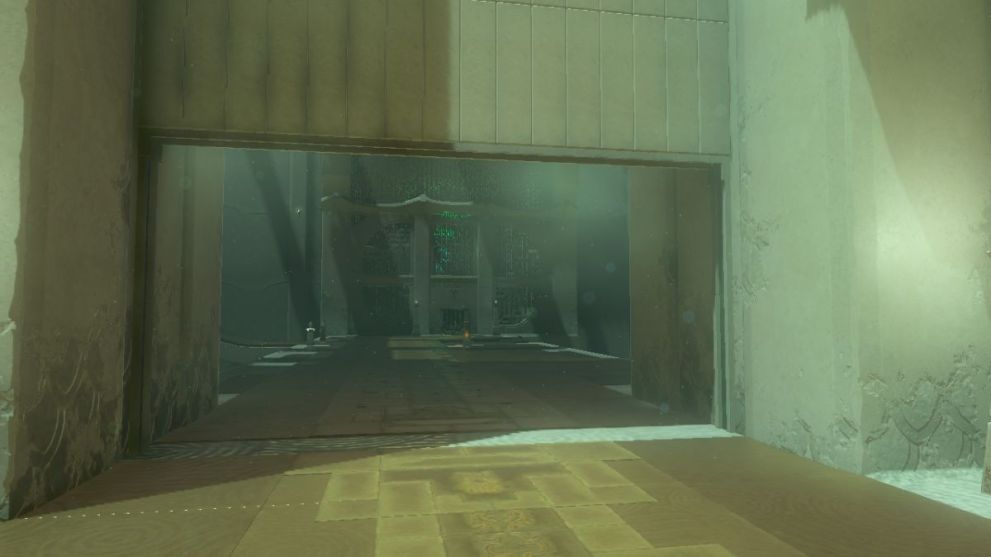
As you walk into the second room, the first thing you’ll want to do is grab this Shrine’s treasure chest. You should be able to see this treasure if you take a few steps into the room and turn to the right, where it will be located on a different section of the platform. However, the gap to the platform that the chest is sitting on is too wide for Link to jump across, so you’ll need to create a makeshift bridge for yourself to cross.
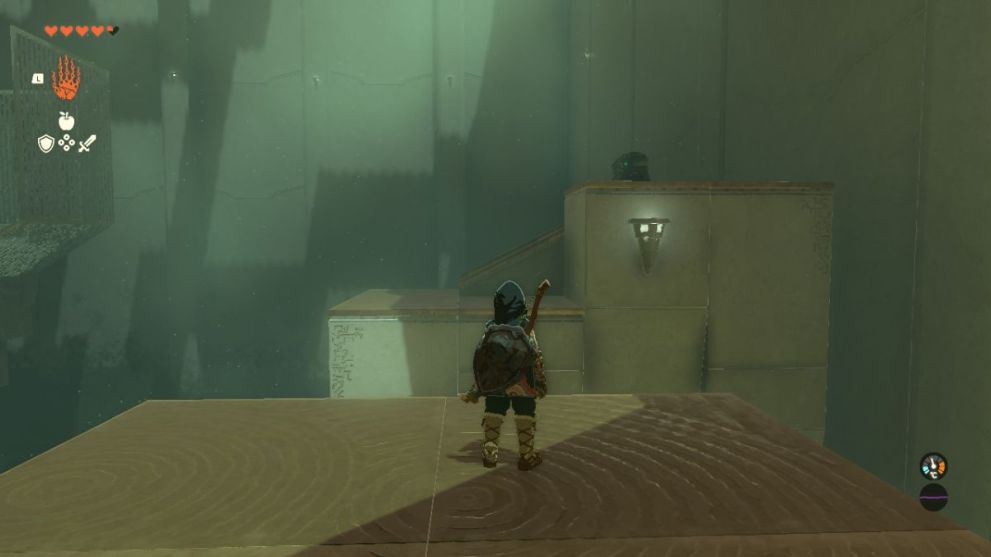
Take a quick detour and run back into the previous room, then use Link’s Ultrahand ability to drag the large metal plate you used as a ramp into this second room. Drop it on the group, and then look around until you find a smaller, square-shaped piece of metal. You should be able to find some lying around near the glowing orange pillar. Use Ultrahand to attach this to the end of the long metal plate, and then line it up and release Ultrahand to drop the metal and create a bridge between the platforms.
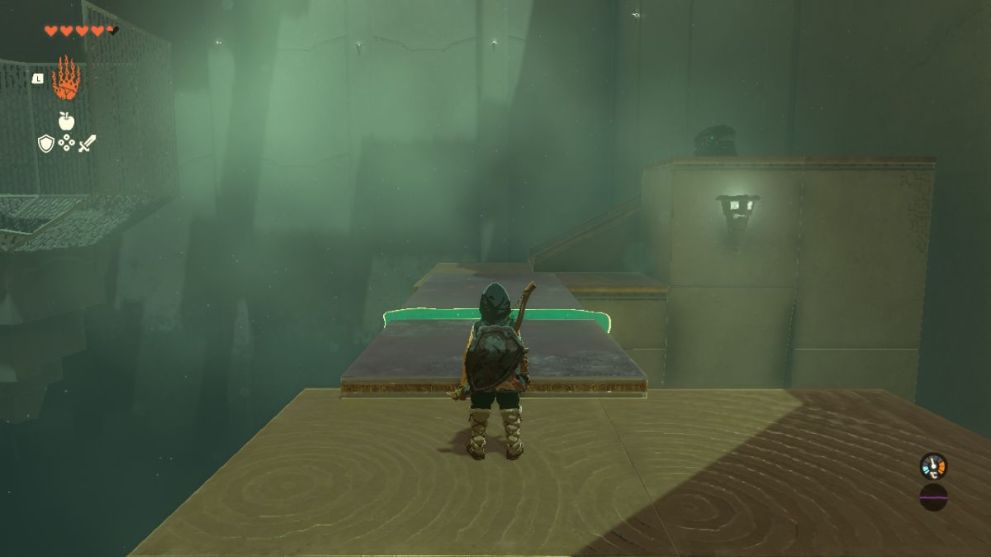
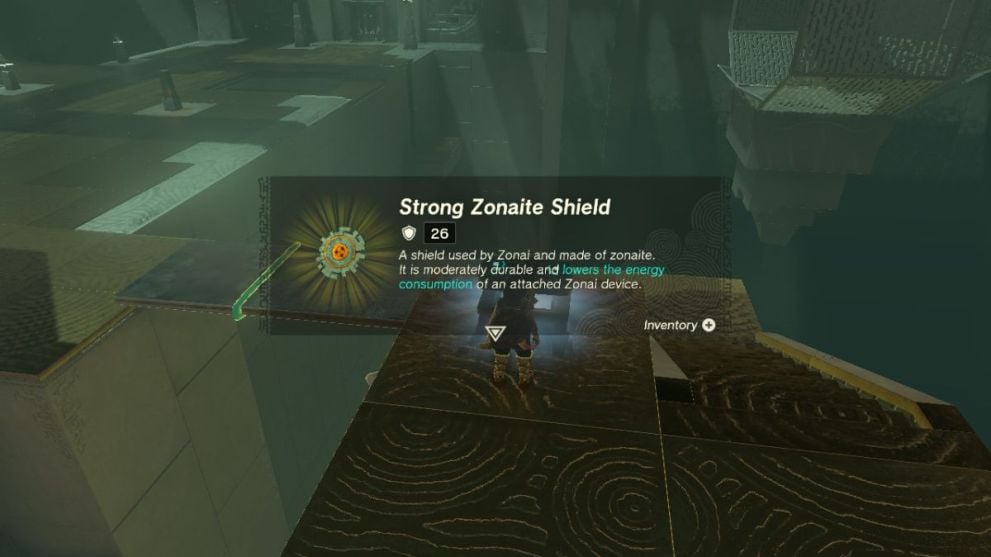
Run across and climb the stairs to head up towards the treasure chest, then press A to open it. You will receive 1x Strong Zonaite Shield to add to your inventory. This is quite a decent Shield with a Base Defense of 26 that will also lower the consumption of power by any Zonai Devices you attach to it as a bonus, so it’s worth grabbing while you’re here in Ren-Iz Shrine.
Once you’ve got the Strong Zonaite Shield in your possession, cross back to the room and use Ultrahand to grab the bridge and drop it on the floor in front of you. Now you’ll need to un-attach the small square piece you stuck to the end of the long metal platform and reattach it vertically so that it’s sticking up. You’ll be using this as the next ramp for the sphere in this room to unlock the second gate.
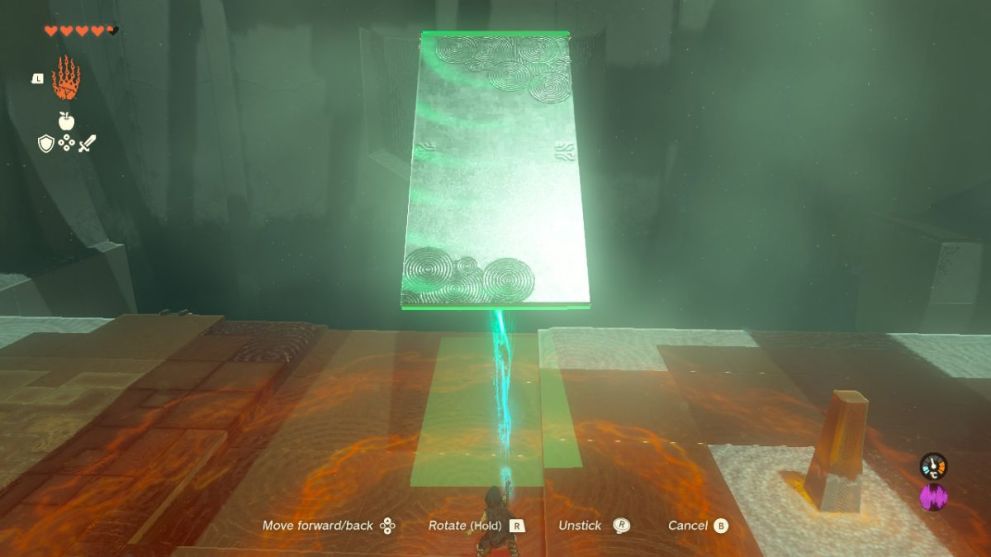
After getting the ramp ready, head over to the groove in the floor, and remove any leftover pieces of metal platform that are lying around with your Ultrahand ability. Once the space is nice and empty, grab your new ramp and activate Ultrahand again. Now you’ll need to rotate and align the ramp until it’s in the same position as referenced in the screenshot below:
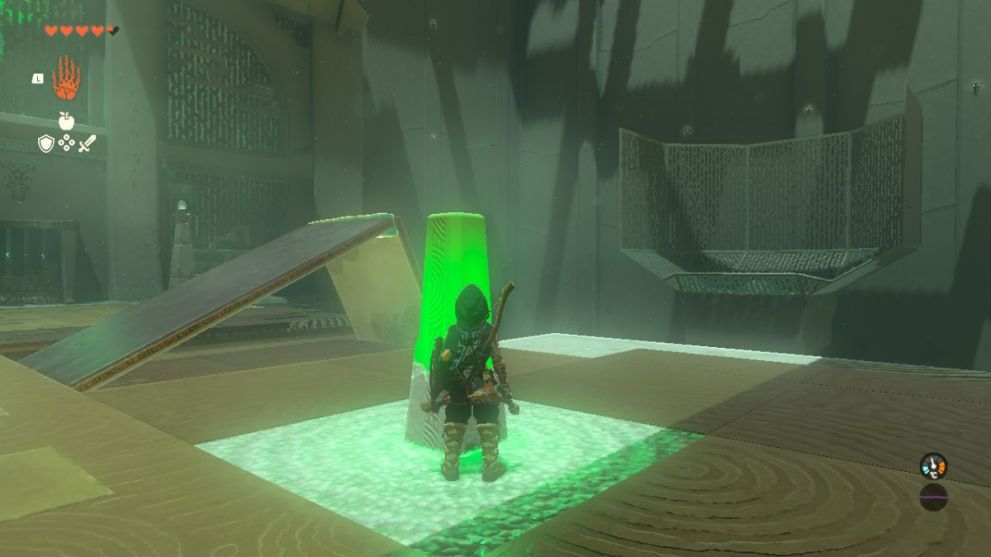
Now go ahead and release Ultrahand to drop this ramp into place and head over to the glowing orange pillar. Just like in the first room, you’ll need to hit it with another melee attack to make it glow green, which will drop another large sphere and let it roll down toward your ramp. The sphere should successfully fly across the gap and land in the second basket to unlock the gate.
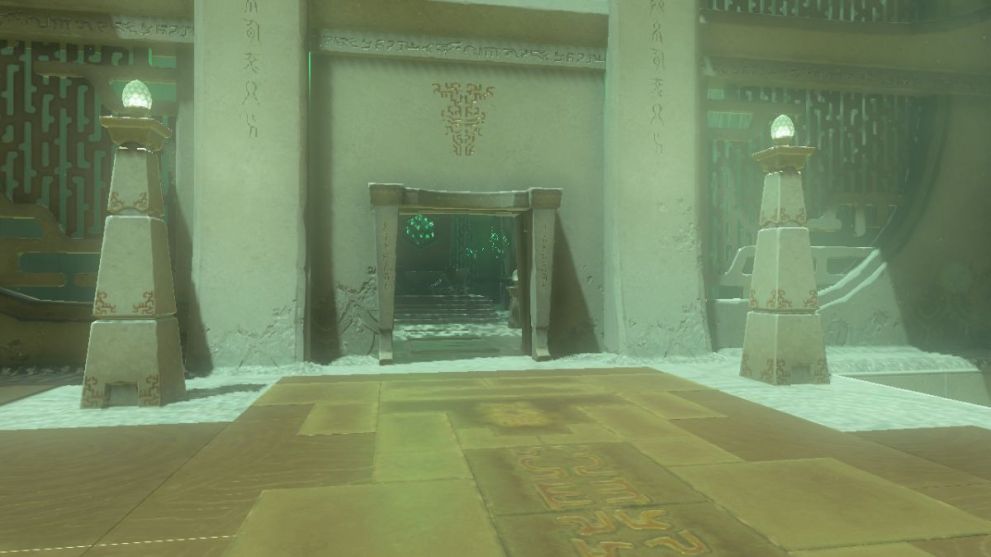
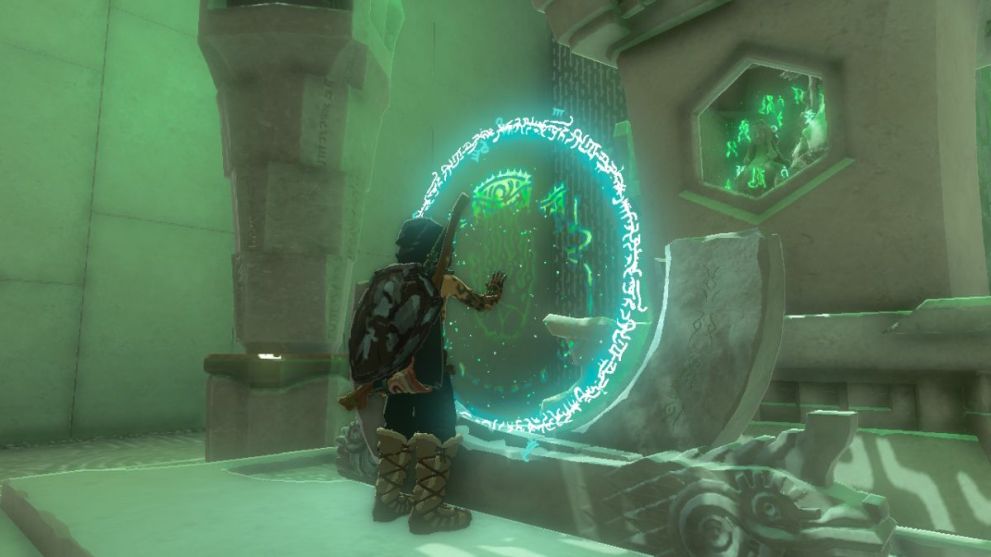
Once you’ve unlocked the gate, you’ll be all finished with the Ren-Iz Shrine puzzle, so you can now simply go ahead and walk through the gate to reach the end. Here you can interact with the Shrine statue to mark the Shrine as cleared and claim your Light of Blessing. After this, you’ll be transported back into the world of Hyrule to continue Link’s adventure or head out on your next quest.
That’s everything you need to know about how to solve the Sifumin Shrine puzzle in Zelda: Tears of the Kingdom. For more helpful gameplay guides, news, and lists, check out the rest of our content here at Twinfinite. We have a wide variety of Zelda topics covering everything you’ll need to assist you on your Tears of the Kingdom adventure, so feel free to scroll down and look through our related links below for more help.







Updated: Jul 6, 2023 08:14 pm