Animal Crossing New Horizons is a really, really, really cute game. As such, you’re going to want to keep some memories of your time on the island. Here’s how to take pictures using the camera mode in Animal Crossing New Horizons.
These will be great for when you’re playing with friends or just hanging out with your favorite animal neighbors!
How to Take Pictures With Camera Mode
When it comes to actively snapping some shots, you need to open up the Nook Phone. This is done by pressing ZL on your Joy-Con.
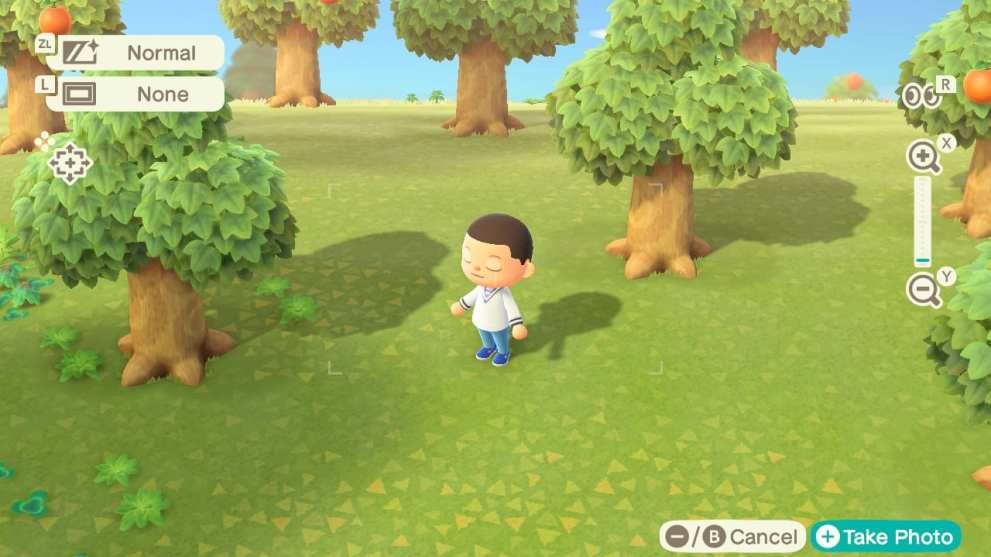
Here, you’ll find the ‘Camera’ app right at the top. Select this to open up the game’s photo mode, so to speak.You’ll now be able to move the camera around with the left analog stick, pan with the d-pad, and zoom in and out with X and Y respectively.
On top of that, you can rotate through border options with L, and filters with ZL, as well as get your character to look at the camera or look away by pressing R.

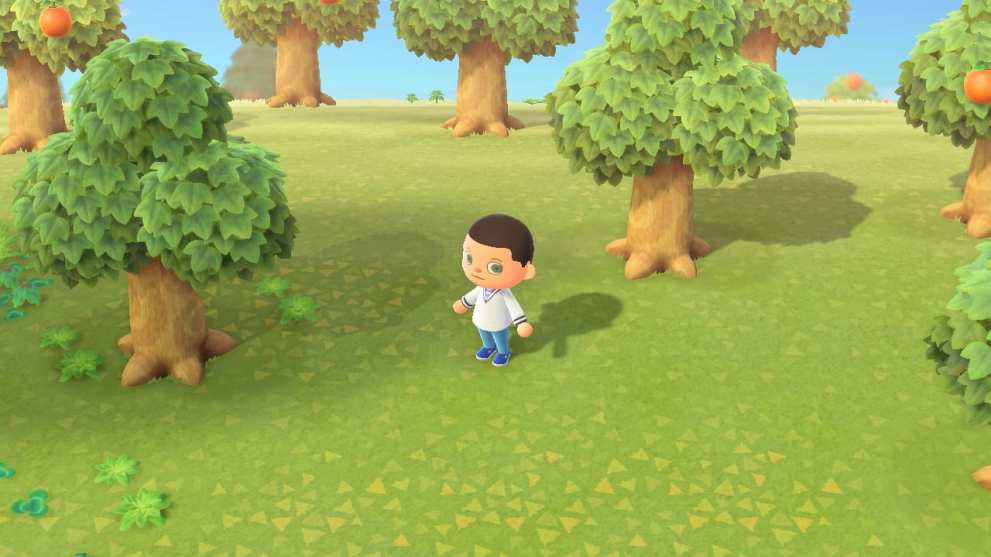
It’s important to make sure that you take your photo with the + button on your Switch’s right Joy-Con, as opposed to using the screenshot button on the left. If you use the screenshot button, you’ll get all of the HUD, as I have in the one above. If you use the + button, you’ll get a much cleaner shot, like the one below.

All of the photos you snap in Animal Crossing New Horizons’ Camera Mode can then be found in the ‘Album’ on your Nintendo Switch. It’s where you’d find screenshots for any other game, too.
That’s all there is to it! You’re ready to take pictures using camera mode in Animal Crossing New Horizons.
If you need more help, let us know in the comments down below. If you want to find some answers yourself, though, you can go to our Animal Crossings New Horizons wiki.
