


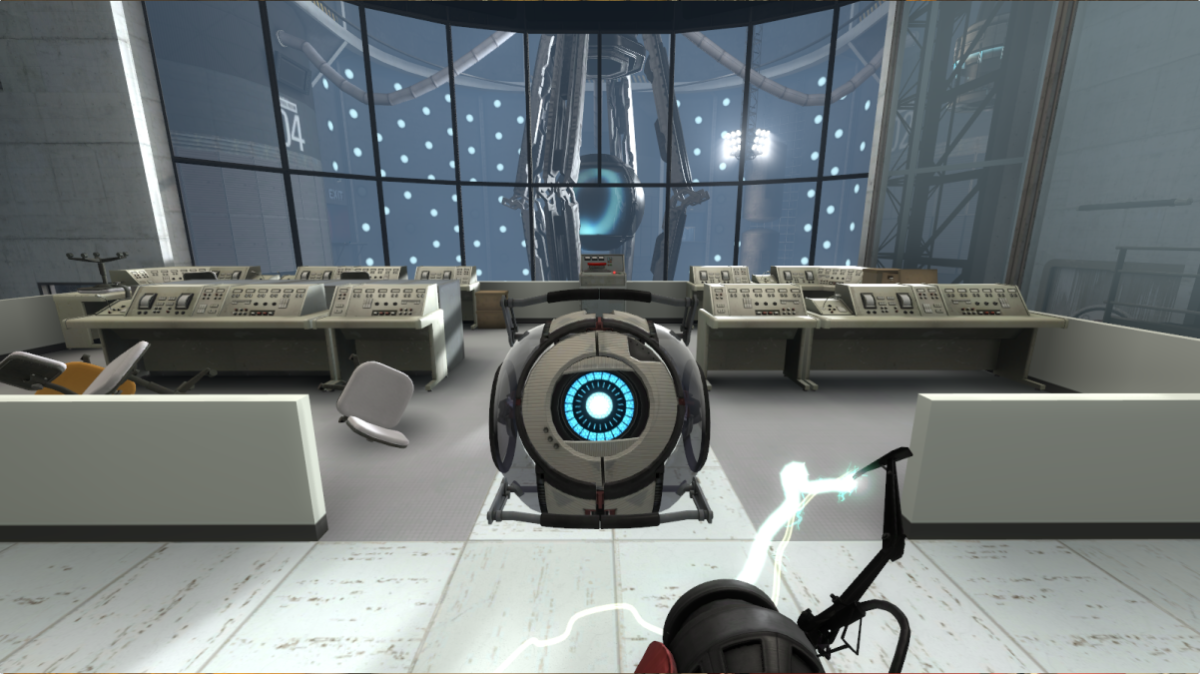
Portal: Revolution is a mod of Portal 2, one of the most beloved puzzle games of all time. The mod puts you in the shoes of a brand new test subject on their own journey through Aperture Science between the events of the first two games, including some brand new mechanics and characters. Here’s our complete Portal Revolution guide, including every test chamber.
Chapter 1: The Human Resource
When you wake up, head to the painting next to the door. It’ll slide up to reveal a monitor. Choose to sign, then head through the door. Follow the walkway to an elevator. You’ll end up in Chamber 00. Head through the door, and continue forward to another elevator. Ride it up to Chamber 01.
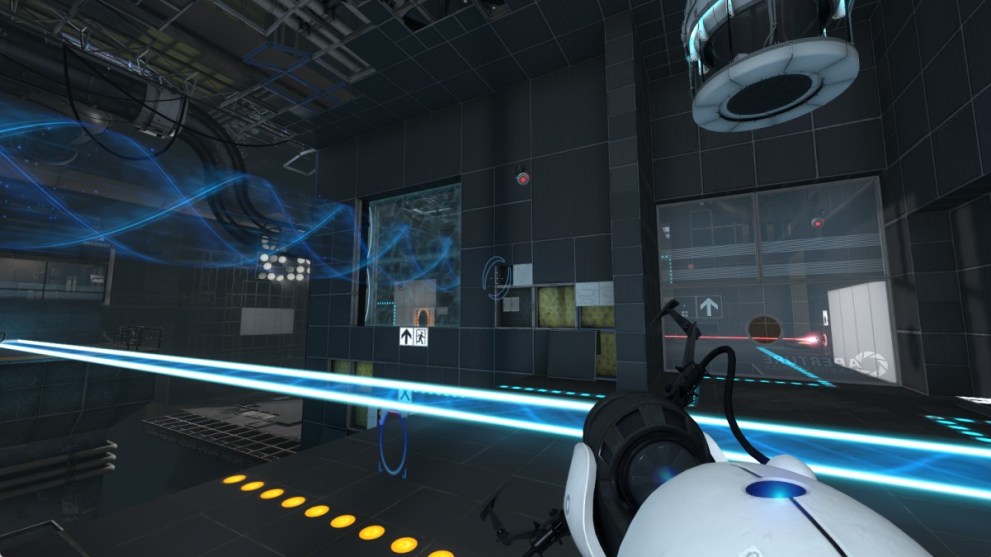
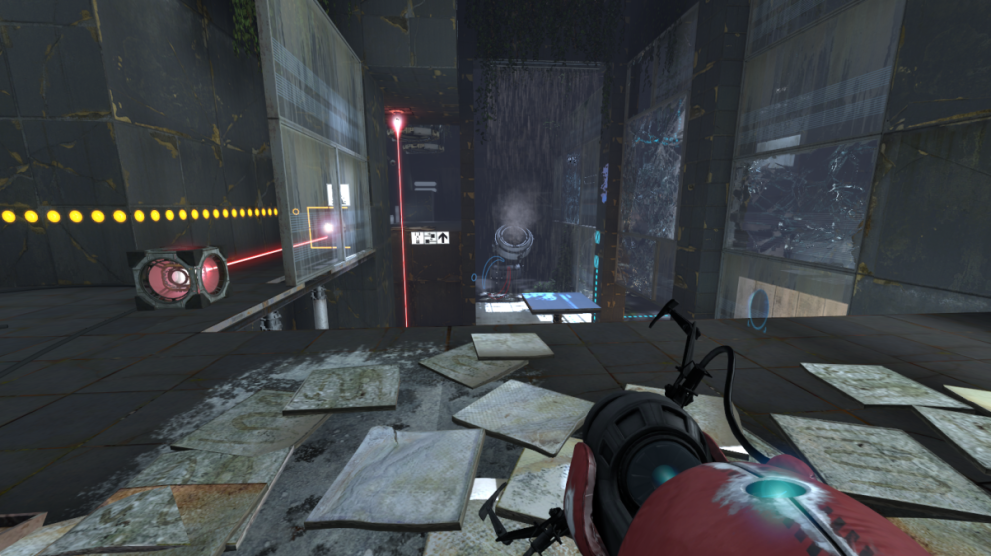
Chamber 01: Complete the Brain Damage Evaluation Survey by pressing the button, then step through the portal that opens. Head right and jump down into the pit. You’ll see a switch and a button on the floor. Click the switch to drop a cube, which you’ll need to place on the button to continue. Head through the door to the next area.


A cube will drop onto a button, revealing a set of stairs behind a window. Pick it up, and carry it to the other button. This will open the path to a button. Press the switch to disintegrate the cube, and another will drop onto the first button. Head up the stairs to escape this room.
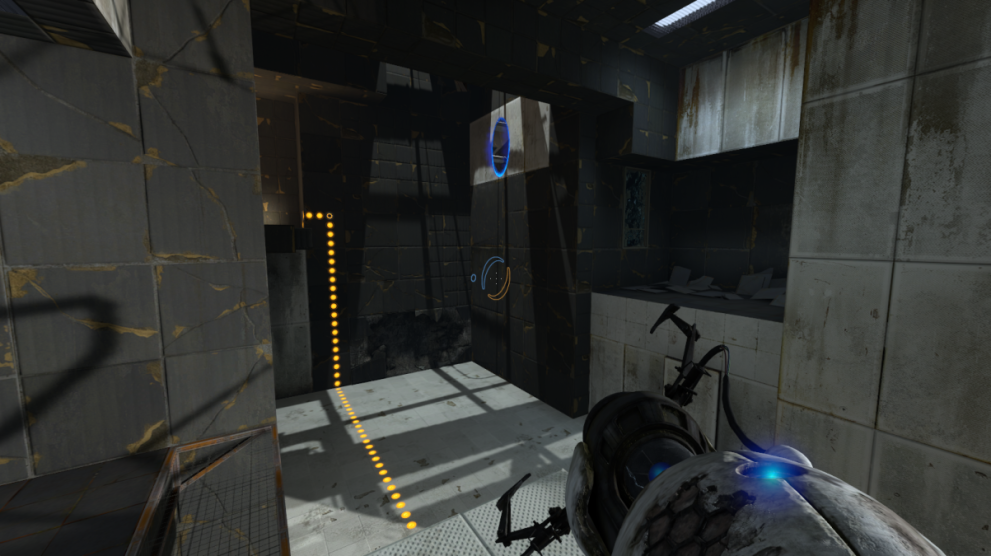
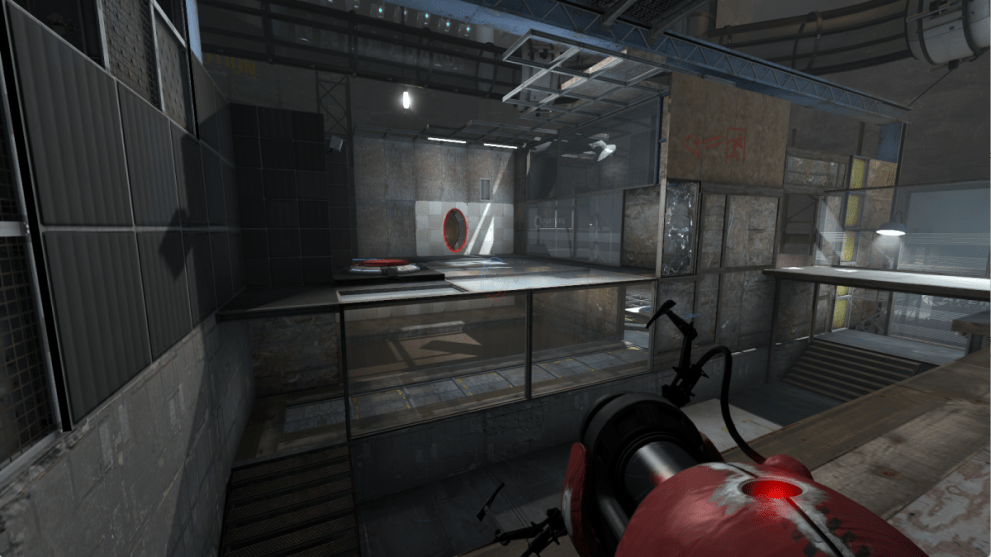
Head through the door and follow the path until a portal appears on your left. Step through it, turn around, and step back through to enter a new area where you can find the portal gun.

Collect the gun and shoot a portal at the wall. Step through and you’ll exit from the existing orange portal. Head to the railing and shoot another portal at the wall next to the exit door, then step through the orange portal and exit the room.
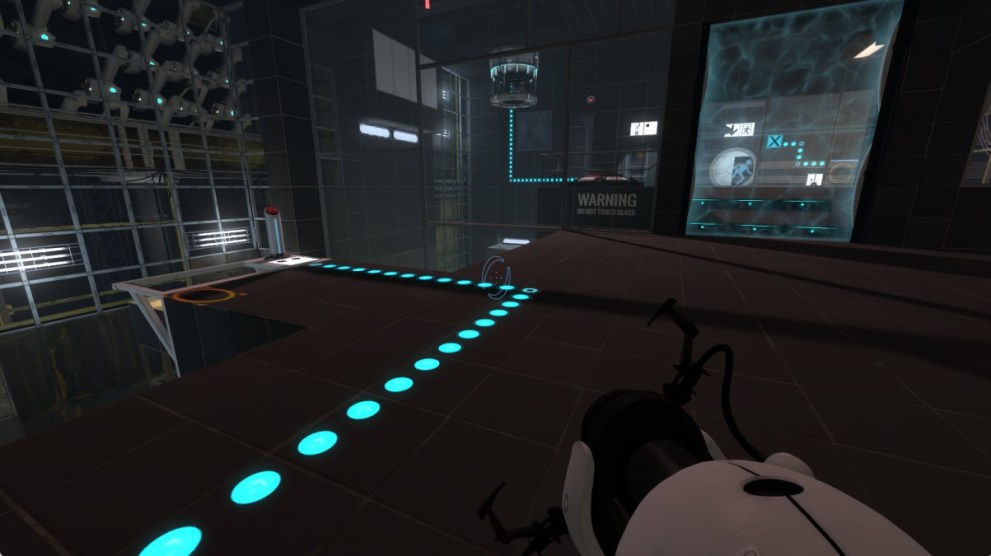
Chamber 02: A cube will drop onto the floor. Shoot a blue portal and pick the cube up, then carry it through. You’ll exit at a static orange portal. Drop the cube here, head through the emancipation grill, and shoot another blue portal. Head through to collect the cube and drop it on the previously blocked button.


Head through the door, then head to a platform on the floor opposite you. You’ll be lifted up to the next door.
Chamber 03: Head through the emancipation grill and press the switch to drop a cube. Shoot a blue portal anywhere you like and carry the cube through, dropping it on the button near the static orange portal. From here, shoot another blue portal near the exit door. Pick up the cube and head through the orange portal, and you can drop it on another button to unlock the door. Head through and make your way to the elevator.
Chamber 04: Head through the emancipation grill and drop down into the pit. You’ll find a reflective cube. Shoot a blue portal and carry the cube through it, and you’ll emerge where you started.

Drop the cube, step through the grill, and shoot a portal at the patch of white wall opposite you. Step through it, then pick up the cube and place it beneath the laser, aiming at the prism. If you’ve lined it up correctly, the door will unlock. The grill will turn red, and stepping through it will kill you. Instead, step through the orange portal and make your way towards the door. Don’t worry about the laser, as it won’t hurt you. Head through the door and make your way towards the elevator.
Chamber 05: Jump into the pit and shoot a blue portal anywhere you like. Pass through and you’ll emerge next to a switch. Press it to release a cube. Shoot a portal at the wall next to the button on a platform to your right. Grab the cube and drop it on that button.
Step back through the portal to the switch. You’ll notice that you’ve opened a window opposite next to another button. Shoot a portal through the window and press the switch to release another cube. Again, carry the cube that drops to this newly available button. This will open the door. Step back through the blue portal, and shoot another one next to the door to exit the room.
In the next room, you’ll need to drop the reflective cube onto the button to lower the emancipation grill. Head through and collect the weighted cube. Bring it back and you can switch the cubes around. Carry the reflective cube across the room to the laser. Direct the laser towards the receiver and drop the cube, then head through the newly opened door.
Chamber 06: Head to the edge of the platform and look down to see a white floor. Shoot a portal onto it and jump down. You’ll emerge from the orange portal and the momentum will shoot you across the room.
Head to the edge of the platform and look beneath the pipe where a cube will emerge. Shoot a portal here and press the switch. The cube will drop and fly across the chamber to where you are. Pick it up and drop it on the button, then head through the newly-opened door. Head through to the next room.
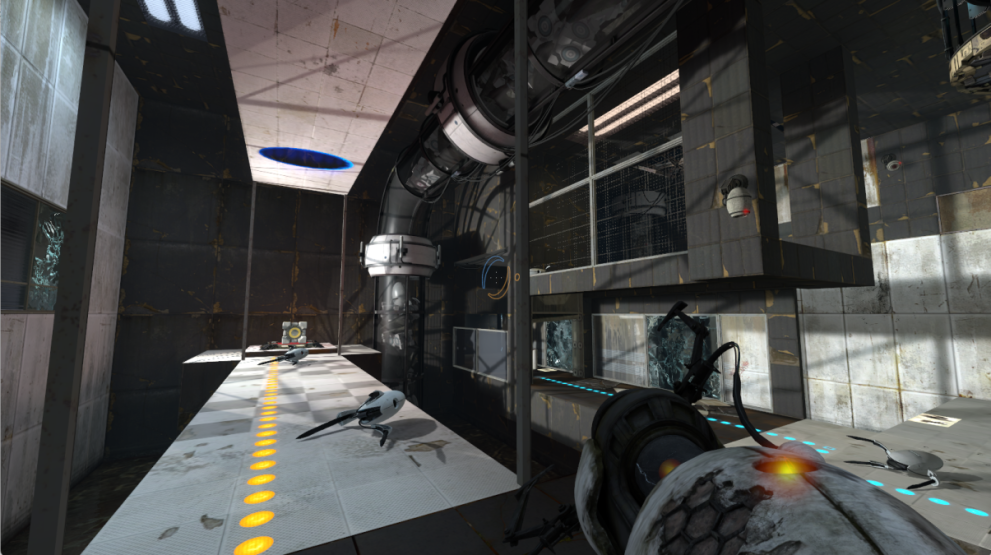
You’ll emerge into the biggest room yet. There’s a static orange portal to your left, on a platform far below. Ignore it for now. Instead, head all the way to the other end of the room and shoot a blue portal at another platform below you. Press the switch once you’ve done this and a cube will drop out, and get caught in a loop bouncing from one to the other. The door you came through will lock temporarily, but once it opens you can head back through.

Head to the centre of the room and wait for the cube to emerge from the orange portal. Once that’s done, shoot a blue portal at the white wall far above you, and the cube will shoot across the room and land on your platform. Pick it up and place it on the button. This will remove the emancipation grill, and shift the position of the orange portal.
Head back to the entrance and shoot a blue portal where the orange one used to be, then press the switch. A reflection cube will drop from the pipe. Again, wait for it to emerge from the orange portal and shoot a blue portal on the wall above the centre of the room. The reflection cube will land near you. Place it on the button where the weighted cube is at the moment, and carry the weighted cube to the switch near the entrance. Head back to the reflection cube and place it beneath the laser, aiming it towards the receiver next to the exit. This will unlock the door.
Head through and follow the walkway. There are a few exit doors but these just lead into small offices. You need to head for the emancipation grill and ride the lift inside to the next chamber.
Chamber 07: Step on the aerial faith plate twice and you’ll sail across the room as majestically as an eagle piloting a blimp. Head straight and shoot a blue portal at a platform below you. Step on the new faith plate and you’ll be back where you started. Up a ramp on the right of the room is a switch – press it, and a cube will drop towards the blue portal on the other end of the room.
Wait for the cube to emerge from the orange portal and then shoot a blue portal at the floor near you. Wait for the cube to emerge from it and quickly shoot another blue portal at any point in the room. This will cause the cube to fall near you. Pick it up and get back on the faith plate, then drop it on the button near where you land. This will cause a part of the wall to angle outwards.
Shoot a blue portal at the white spot near the entrance, then step on the faith plate. Wait to emerge from the orange portal, then shoot a portal at the angled section of wall. At this new angle, you’ll be sent flying to a higher area.
Head to the edge of the new platform and shoot a blue portal at the platform opposite you, then press the switch. A ball will fall into the blue portal. Wait for this to happen, then shoot a new blue portal at the same angled piece of wall you used earlier. Grab the ball when it lands, then place it in the receiver to complete Chamber 07.
Chamber 08: Shoot a blue portal at the wall to your right and step through. Click the switch to drop a reflective cube. Shoot a blue portal at the spot on the wall above where you shot the first one. Carry the cube through and place it in the laser’s path, aiming at the blue portal, to activate the lift. Jump to the lower level and shoot a blue portal anywhere to lower the elevator, get on, then shoot it a portal at the white panel again to activate the lift again.

Grab the cube up here and make your way to the red button near where the cube is currently. Head back up to where you picked the cube up and shoot a portal at the white patch of wall to create another blue portal. Step through and press the switch to drop a new reflective cube, erasing the old one. Angle the cube so the laser shoots through the portal towards the receiver. With both cubes in place, the door will unlock.
Chamber 09: Head through the door and it’ll lock behind you. Head down into the pit and shoot a portal at any section of wall. Step through it and press the switch to drop a cube. Pick it up and carry it back through the portal, then put it down on the button to get rid of the first emancipation grill.
Shoot a portal at the wall on the higher level, then press the switch again. This will put the first emancipation field back up. Carry the cube through the new portal and use it to block the laser, getting rid of the second barrier.
Near the ceiling on the other side of the room you’ll see a hard light bridge heading towards a patch of wall. Shoot your portal at this patch to extend the bridge across the chasm. Cross over, and follow the walkway to an aerial faith plate. Step on the plate to reach a new area. Shoot a portal at the patch of wall and step through to grab the cube. Once you have it, carry it back through the portal and block the laser again.
All you have to do now is put the bridge back up. Shoot another blue portal at the wall at the end of the bridge to cross the chasm again, and step back on the faith plate. Now, pick up the cube and drop it on the button to unlock the door, and you can reach it easily.
Head through the door and follow the walkway to the next room. Step on the faith plate and watch the scenes that follow.
Press the red button to open the path forward, and then press another one in room to your left to create a static orange portal. Shoot a blue portal at the wall in the hallway to circumvent the locked door. Exit through the emergency door on your left. There’s a gap in the window to your left. Shoot a portal through it at the white wall, press the red button, and quickly head through the portals into the scanner. Once that’s done, Head through the door opposite you and keep going through a series of doors until you reach the room where you first met Stirling. There’s an elevator you can use with your new security clearance. Head through the door ahead of you to finish Chapter 1.
Chapter 2: The Default Route
Follow the path, listening to Stirling as you go. After you’ve crouched through a vent, turn left and head to the corner, where you’ll see a missing floor panel you can drop through. Do this and continue along the path and eventually you’ll reach a room with wind turbines that will blow you off the path if you try to move forward.
Turbines and Turrets: To get by, take the walkway to your right and go down the stairs to a conveyor belt. You can’t get straight back up, but you can pick up the cubes to gain some height. Once you’ve done this, grab another cube, head back to the walkway, and head up the stairs to a small office. Put the cube in the hole in the wall that reads “Shutdown Override”. This turns off the wind turbines, letting you pass through.
Continue along the path until you reach a room with turrets. Take a right turn before you reach them to find a switch that will reveal a static orange portal. If you head back towards the entrance and look over the chasm you’ll see a white wall you can shoot a blue portal at, letting you get to an office next to them. Flick the “Fan Control” switch and head back through the portals and down the previously blocked path.
Shoot a blue portal to the right of where the turrets were placed, then head through the orange portal and you’ll find yourself on the top of some machinery. To your right is a gap you can step through to get to a lower area. Keep going along the path until you reach a room with some destroyed turrets on the floor.

Head through the doorway, turn left, go through the next doorway, and climb a set of stairs to an office. Turn on the fan and then press a red switch to drop a cube onto the conveyor belt. The fan will push the cube to the area at the bottom of the stairs. Pick it up, place it in the hole in the office wall, and turn off the fan. You can now ride the conveyor belt towards the next emancipation grill.
Observation Area and Chamber 02: Follow the path through the offices and pass through the emancipation grill. Once you reach an override switch, press it to open the next door. Continue until you get to another room with a switch.
Shoot a blue portal at the path of white wall above you and to your right. Flick the switch and bombs will start dropping through a static orange portal, out the blue portal, and break the glass blocking the the other side of the room. You’ll need the bombs throughout this section, so it’s best to leave them dropping and simply time your movements. Luckily, even a direct hit won’t kill you, but it’s probably best to avoid taking more than one.
Enter the next room and look at the broken windows. There’s a gap you can shoot another portal through. Do this and continue until you get to the observation room of Chamber 02. Shoot a portal at the white wall opposite the broken glass to head in.

Shoot a portal at the white wall opposite the 02 sign to break the glass ahead of you when a bomb falls through. Look through the glass and shoot another portal at the white patch of wall opposite.
Shoot a portal somewhere you can reach it and head through. Make your way back to the observation chamber for room 02, and shoot a portal at the wall in the area which was previously blocked. Head through the orange portal to reach it. Then, go to the end of the hallway and shoot a blue portal at the white square on the floor. The next time a bomb drops it will blow up the pipe above you, letting you grab a cube. Place this cube on the button next to the exit door.
You’re not quite done yet. Go through the exit gate and shoot portal at the white wall above you to break the last damaged windows. Make your way back to the bomb room and you can finally turn them off, then head back to the observation room. You can now shoot a blue portal into the office you just unblocked. Do this, head back through the orange portal, and you’ll have escaped Chamber 02.
Massive Chamber: Follow the path and you’ll find yourself in the biggest test chamber yet. Shoot a blue portal at the white wall on your left, pass through, and press the switch next to the laser.
Press the switch to drop a cube onto the platform beneath you. Jump down, shoot a portal to get back up, collect the cube, and step back through. Shoot another portal at the white wall near the laser’s origin point. You’ll see a button you can put the cube on. This will relocate the orange portal. Step through it, then shoot another portal above you and to your left. Step back through, and shoot one more blue portal at the end of the laser to activate a bridge. You can use this bridge to cross the room. Once you have, shoot a portal through the hole in the glass to your left, press the switch and collect the reflection cube that drops down, then jump down and head through the orange portal.
Collect both cubes and head through the blue portal. Use the reflection cube to aim the laser through the orange portal. Grab the weighted cube and head through, drop it, and shoot one more blue portal at the white wall below you, opposite the laser receiver. If you’ve lined it up correctly, a bridge will appear, letting you take the weighted cube across the bridge. Put it on the button to activate an excursion funnel.
Jump into the funnel and you’ll be carried to the exit door, but you can’t get through quite yet. Luckily, all you have to do to unlock it is shoot a portal at the white patch on the floor – the laser will come through, hitting the receiver on the ceiling. Head through the door and continue along the walkway. Get in the elevator to complete this chapter.
Chapter 3: The Surface
Head forward and look through the window to see your destination. Continue along the path until you reach a broken test chamber. Look for a window with a circular hole. Shoot a portal at the floor through the hole, press the switch to drop a cube, and quickly step onto the button. This will activate a static orange portal which the cube will emerge from. Pick it up and place it on the switch to keep the orange portal active.

Look through the window next to the orange portal and you’ll see a white wall next to a walkway above you. Shoot a blue portal here and head through the orange portal. Take the elevator to your left and follow the walkway to the end. Look around and you’ll see a white wall in the distance. Shoot a blue portal here and head back through the orange one to reach a new walkway. Follow this new path until you have to jump through a window into Chamber 12.
Chamber 12: Jump all the way to the bottom of the pit and shoot a blue portal at the wall above you. Grab the cube and go up the stairs, then jump down and through the orange portal to reach a higher area. There’s another white wall higher up, so repeat this process again. Place the cube on the button, aim a blue portal at the angled white wall above you, and once again jump through the orange portal to reach the exit door. Follow the path to the elevator to reach the next chamber.
Chamber 01: Head to the static portal and look up. Opposite the pit is a white wall. Shoot a portal here and step through, then place a portal on the wall to your right. Jump through the orange portal and you’ll fly over to a platform with a switch. Press it and a cube will drop on the opposite side of the pit.
Head back up to the high platform above the switch, and shoot a portal high up on the white wall opposite you, near the exit door. Jump through the orange portal, jump down to the cube, collect it, and then carry it down into the pit. Here, you can shoot a portal to make it back to where you started. Put the cube on the switch, make your way back to the high platform, and once again shoot a portal at the white wall near the exit gate. Jump through the orange portal and you’ll be at the exit. Continue through to Chamber 02.
Chamber 02: Shoot a portal into the white wall at the bottom of the pit and step through it. You’ll emerge on a high walkway. Turn left and you’ll see a white floor and white ceiling. Shoot a blue portal at the ceiling, step through, and as you’re falling shoot another portal directly beneath you. This will send you shooting out of the orange portal directly to the exit.
Chamber 03: Look for another white ceiling above a white floor. Shoot a portal at the ceiling, step through, and quickly shoot a portal beneath you. Once you emerge from the orange portal, shoot another blue one at the angled wall to fly towards the exit. Head through and make your way to the elevator.

Chamber 04: Look up and shoot a portal at the patch of wall on your left, then jump into the orange portal in the pit. When you land near the exit door, you’ll see an angled surface to its left. Shoot a blue portal here and then make your back to the orange one, and jump into it again. When you land, press the switch to drop some repulsion gel onto the floor.
Head back to the start and repeat the process. This time, you’ll land on the repulsion gel, sending you to a previously unreachable platform. Collect the cube and head back to where you started. You’ll notice a button to the corner blocked by a window. All you have to do is shoot a portal at the patch of wall and drop the cube through the orange portal. Once you’re done, make your way back up to the exit door. Head through and follow the path to the elevator.
Chamber 05: Head right and press a switch to shift the water flow, then turn left from the static portal and aim your blue portal at the wall. Step on the switch and an excursion funnel will catch the blue gel. You’ll need to press the switch again. If you’ve done this correctly, the gel will be carried through the orange portal.
Turn towards the turrets and you’ll see two angled patches of wall to their right. You’ll need to shoot a portal at one of them once the blue gel has passed through the portals, then repeat the process through the other. This will destroy the turrets, and make a platform they were guarding bouncy.
Look above the orange portal to see a walkway with a white wall. Aim a blue portal here and step through, then aim another portal at the closer of the two angled walls. Jump into the orange portal and you’ll shoot out of here, land on the blue platform, and bounce towards the exit gate.

Chamber 06: Head through the waterfall to your left and collect the cube from the end. Carry it back through the waterfall and head to the button on your immediate right. Put the cube here to open a static portal.
Head back through the waterfall and shoot a portal at the floor beneath the speed gel. This will cover the cube in speedy orange goo. Pick it up and carry it over to the other button. Climb the nearby set of stairs and place the cube at the top of the ramp. Quickly head over to the elevator and the cube will slide down onto the button, activating it. Follow the walkway to the exit.
Chamber 07: As you continue to the next chamber, the door will break, forcing Stirling to reroute you through Chamber 07. When you enter, head down the ramp and through the emancipation grill. Head to the right, shoot a portal at the high wall above and to the left of the static portal, and step through. Head forward to find a button – stand on it and speed gel will start flowing. Shoot a blue portal beneath it, and wait for a generous amount to emerge from the orange portal. When that’s happened, shoot the blue portal at the white wall opposite the static portal. The speed gel will shoot out, creating a runway.
Jump down and run across the speed gel towards the blue portal, and you’ll shoot out of the orange one. When you’re in the air, quickly shoot a blue portal at the angled section of wall and you’ll fly to a new platform past a waterfall.
Press the switch to release a cube, and carry it to the orange portal. drop it, then head back through the emancipation grill. Shoot a blue portal at the wall and step through to grab the cube, then drop it on the button to turn off the waterfall.
Head back to the button that releases the speed gel. Once again, shoot a blue portal beneath it, and then when you have a decent amount shooting out of the orange portal, shoot another blue portal at the angled section of wall. This will shoot the gel onto the platform where you collected the cube. Head back to it using the same method, and keep going – the momentum from the orange gel will send you shooting towards the exit.
Head through the door and make your way to the elevator.
Chamber 08: Keep going until you find a white wall. Shoot a portal and step through to reach a platform with a button. Ignore it for now, instead look into the water to find a cube. Pick it up, and then portal your way back up to the button. Put the cube down on it to activate a laser, then jump into the pit. Find the laser receiver and you’ll see an elevator nearby, and a white wall opposite. Climb onto the elevator and shoot a portal at the white wall, activating the laser receiver and the lift. Once you reach the top, jump over to the central platform to collect an upgrade to your portal device.
Note: From here on we’ll reference the colours of the portals you’ll need to shoot. You can, of course, use the opposite colour if you prefer, the important thing to remember is that trying to shoot the same colour twice will just replace it – to create a tunnel, make sure you’re using the opposing colours.
Shoot a blue portal at the angled platform behind you, and an orange one at a white wall on a high walkway above a white floor. Step through the blue portal onto the walkway, shoot an orange portal onto the floor, and jump through. The momentum will carry you to the exit.
Backstage: Get in the elevator and it’ll break down. You’ll need to jump out onto the walkway. Follow it downstairs, through a door, and back upstairs. Keep an eye out for a white floor on your left – shoot a blue portal onto it, then head into the office and shoot an orange portal at the wall to reach it.
Across the chasm is a white wall. Throw an orange portal onto it and step to the edge. Look down to see a floor far below you. Throw down another orange portal and jump through.
You’ll shoot out of the blue portal and right up into a higher area. Shoot an orange portal on the platform you see to reach it. Aim through the fence at a white wall and shoot a blue portal at it, then cross over.

Head up the walkway and you’ll reach an angled wall at a dead end. Shoot a blue portal onto the wall, then step through. You should emerge through the orange portal you used to pass the fence. Head to the edge and look down, then shoot another orange portal at the white floor far below. Jump through and the momentum will send you flying out of the blue portal. You’ll land on a walkway where you can drop into a new chamber. Jump down onto the platform with the button and shoot a portal at one of the walls. Jump down to a lower level and shoot a different portal at the wall here, then collect a cube and step through. Put it on the button to unlock the exit. Head through and take the elevator to complete chapter 3.
Chapter 4: The Diversion
Follow the path until Stirling puts up a barrier. Shoot a blue portal at the wall in the distance, then wait for Stirling to open up a path to your left. Step through and shoot an orange portal at a wall in here to get around the turret. Pick up the turret and drop it through a portal to get it out of the way.
There are two more turrets you’ll need to deal with. Creep around the corner and aim for the white floor as soon as you can. Shoot a portal and the first turret will fall through. Do the same with the second turret. With them taken care of, simply pick up the cube and drop it on the button.
There are more turrets in the next room. Take care of the closest one first. Shoot a blue portal at the panel above it, then an orange one at the floor beneath the cube. Next, deal with the one on the lower level by shooting a portal at the floor beneath it. Finally, shoot one portal at the wall above the final turret and another at the floor. Step through, grab the turret, and drop it over the edge.
Head up to the platform where you dropped the cube. It may have fallen down to the lower level, so if so collect it on the way. Jump onto the next platform, then shoot one portal at the floor and another at a high wall to your left. Jump through with the cube and drop it on the button. This is a tricky jump which may take a few attempts.
Turn around and shoot one portal on the floor, and another at the high wall to the right of the existing blue portal. Jump through the first portal and you’ll be shot out of the other, landing near the exit.
Chamber 09: Straight away you’ll see two turrets aiming at the path you need to walk. Look to your right over the glass and you’ll notice you can shoot portals at the ceiling above them. All you have to do to get past is shoot a portal at the floor beneath the pipe where a cube will drop, shoot another above each turret in turn, and then press the switch. This will drop cubes on top of them. Step through the tunnel and turn around and you’ll notice more turrets above you, and a white wall behind them. This is the same sort of idea, just aim portals at the wall and keep one beneath the drop section, and when you press the switch the turrets will be incapacitated.
When you’re done, drop one portal on the ceiling where you shot your first portals, and put another one on the wall somewhere you can reach. Press the switch again, collect the cube, and head through the portals. Just drop it on the button and you’ll open the exit.
Chamber 10: Look around for a button which will activate an excursion funnel. Step on it, and put one portal on the floor beneath it and another on the wall facing where the repulsion gel is dropping.
This can be a bit tricky, but your goal is to get the gel to drop in the right areas to allow you to jump over the pit.
You should drop the gel:
- Right below the wall you’re using to maneuver it
- At the very edge of the platform
- Lay a trail from the first area using the reachable section of the wall
You’ll need to have a lot of momentum, so make sure your drop zones aren’t too small, as landing in the wrong area will mean you have to start over.

When you’re ready, put one portal high up on the wall above the switch, and one on the wall in a spot you can walk through. Step through and, while you’re bouncing in the air, shoot a portal at the angled section of wall, and another below the excursion funnel. Make your way towards the second portal you’ve laid and the extra momentum will send you shooting across the room, landing on the repulsion gel at the edge of the platform, and then flying across the water.
Approach the edge and a platform will rise from the water beneath the ball. Check which portal you put on the angled wall, and shoot the opposite coloured portal onto the platform holding the ball. After that, just press the switch and a new ball will drop, shooting towards you and bouncing its way directly into the receiver, unlocking the exit.
Chamber 11: The door will break as you approach this chamber. Luckily, the wall has holes in it – shoot one portal at the floor through the hole, and another on the wall outside the chamber to enter it.
Look above you to find a small platform. Portal up to it, then aim one portal at the ground and another at the angled surface closest to you. This will allow you to reach the section across the chasm. From here, you can press a switch to drop a cube covered in repulsion gel on the platform you just left.

You’ll need to clean the block to catch it. Shoot a blue portal where it drops, and an orange portal on the angled surface to your left. This will send the block flying through the waterfall. As soon as the block has left the orange portal, shoot a blue portal on the angled surface it’s flying towards, then an orange portal at the angled surface facing you. If done correctly the now clean block will fly towards you. Pick it up and put it on the button.
Portal back to the high platform, then shoot a blue portal at the floor beneath you and an orange portal on the further of the two angled surfaces you can see. Jump down and once you pass through the portals, quickly shoot a blue portal at the portalable surface you’re flying towards. Once that’s done, aim an orange portal at the angled surface to your left as you fly through the air, and you’ll be sent flying to the exit.
Chamber 12 and 13: Again, the door to Chamber 12 isn’t working properly. It’ll open wide enough for you to portal through. Once you’ve done that, jump down to the lower level. Don’t worry about the water, it’s not deep.
Head around the corner and through the emancipation grill, and follow the path to a dead end. Shoot one portal at the reachable wall and another on the walkway above. Continue along the path to Chamber 13.
Head through the emancipation grill ahead of you and shoot a portal at one of the walls, then flick the power switch on your left to cut the power in the room. Now, shoot a portal at the wall on the platform above you, and turn the power back on. Head through the portals to the higher platform and press a switch to drop a cube, then head back through the portals and put it on the button. After that, turn the power back on and portal into the next room.

Place a portal somewhere you can reach it, making sure it’s the same colour as the one you initially placed in this new room. Head back to the previous room, turn the power off, grab the cube, and carry it back into room 2. Turn the power back on, then portal up to the high platform and place the cube on it.
Look opposite the glass platform that’s raised and you’ll see a white wall jutting out. Throw a blue portal on it, and an orange one anywhere you can see. Step through and immediately shoot another orange portal directly below you. You’ll fall through and the momentum will carry you to the glass platform.
Exit the room and you’ll see the path forward is locked. Instead, go through the broken wall on your left and onto the pipes. There’s one white wall to your right and another above you to the left. Make sure you jump as you go through and you should end up on another pipe. Follow it to see another platform below you. Portal down to it. From here, follow the walkway, looking for spaces where you can drop down, and eventually you’ll reach the next chamber.
Chamber 14 and The Spire: Shoot one portal at the spot facing the aerial faith plate, and another on the white wall to its right, then step onto the plate to reach a high area with a switch. Press the switch to release a cube, which will end up next to you. Pick it up.
Jump down to the lower level and turn off the power. This will deactivate the emancipation grill and aerial faith plate, and the latter is what we want right now. Place an orange portal on the wall, and a blue portal where we started. Carry the cube through and put it on the aerial faith plate, then head back through the portal. Place a new orange portal on the angled surface blocked by water, and a new blue portal on the spot the aerial faith plate is aimed at. When you turn the power back on, the cube will shoot through, landing nicely on the button.
Place a new orange portal on the reachable angled surface, and a blue one at the start point. Step through, and place a new blue portal where the aerial faith plate is aiming. When you step on the plate again, you’ll be shot towards the exit.
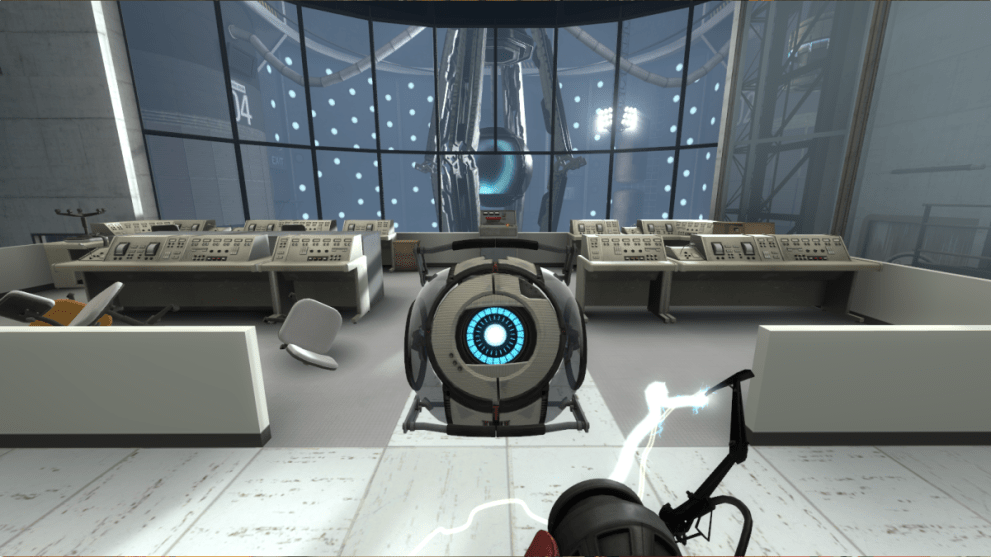
Follow the path until you reach an office. At the far end you’ll see a broken window with a white wall in the distance. Portal down to this white wall and follow the path to reach the spire. Head inside and follow the path. It’s a dead end, but you can portal to a higher area. Follow the path to reach a room overlooking a large machine. Head up the stairs and press the big red button.
Our old friend the Companion Cube will drop into the chamber. Place it in the chamber on the left and it’ll be teleported to the right. Unfortunately, you’ll need to immediately murder the cube to continue, then step into the chamber yourself.
Once you’re locked in, Stirling will reveal his real goal: to reboot GLaDOS and bring some order back to the facility. Luckily, the machine will malfunction, sending you elsewhere in the facility and concluding chapter 4.
Chapter 5: The Cutting Room Floor
You’ll find yourself at the base of the facility, deep underground. Even worse, your trusty portal gun has been destroyed.
Head towards the facility and through the large gap in the structure. Follow the path over the water and then turn right onto a Gel Pipe. Get on and follow it to some high walkways. Walk along them until you drop back to the ground. There are some more pipes ahead of you. Follow them and you’ll eventually get back on the ground in front of a door. Head through.
Flick the switch to open the next door, then take the stairs to your left and exit through an emergency door into the Waiting Area. Follow the wall to your left to reach an open door. Head through and jump through the hole. Climb the ladder you find to reach a high area. Follow this path to an elevator you can ride up. Keep following the path and eventually you’ll reach another switch. Flick it to power up the facility and open the nearby gate. Pass through, jump to the lower level, and continue following the path. You’ll eventually reach a museum where you can pick up a new portal device.
The Enrichment Facility: Shoot a portal at the wall and exit the museum. Look for a partially boarded doorway that says “Keep Out”. Shoot a portal through it onto the wall and you can access it.
Head to the end of the walkway and shoot a portal at the white wall, and look for another below you. Repeat this process and you’ll eventually reach an area where you can jump to the ground. Shoot a portal here and you should be shot out to a previously unreachable area. Climb a ladder and follow the path to reach the next room.
You;ll reach a room with a few surfaces reachable, and a walkway across a gap. You can’t do anything with most of the available surfaces, so shoot one portal at the angled surface and head back to the previous room. Make sure there’s a portal on the ground here, get to the top of the ladder, and jump over the railing. You should fall through the portal to reach the walkway.
Follow the path and you’ll find yourself back in the waiting area. Head to the booth next to the security checkpoint and shoot a portal at the wall inside, and another at the wall nearby. Head inside and flick the switch to open the door on the right. This will let you shoot another portal into the checkpoint itself. Once you’ve done that, flick the switch again and exit through the portal behind you. Head into the next room, portal up to the area above you, and head through the door nearby to find an elevator. Once you’re out, follow the path to the next puzzle.
Enrichment Centre Test 00: Head through the grill on your right and collect the cube. You’ll notice a tube nearby, above a partially blocked office space. Pick up the cube and carry it over, holding it beneath the inflow. When you release the cube it’ll be sucked through the pipe and drop on the other side. Head back through the grill and put it on the button.

Test 01: Follow the path and you’ll reach a room with some turrets. They’re facing away from you so dispose of them as you want – drop them, take them through the grill, or put them beneath the inflow pipe.
Throw a blue portal on the ground beneath the tube and look around the corner where you see lasers. These are coming from more turrets – shoot a red portal behind each one and they’ll be sucked through. Keep going and you can do the same with every turret you come across.
The last turret you’ll need to deal with is on a platform with a button. Once it’s dealt with, drop a portal on the ground, flick the switch to collect a cube, and head over there to put the cube on the button and unlock the door. Head through and follow the path to an elevator.
Ride the elevator and head forward. Portal over to the walkway opposite you using the white wall beneath it, turn around, and portal over to the platform to the right of where you started. Follow the path until you pass through an emancipation grill in an office. Keep going to reach the Personality Sphere Maintenence Labs.
Personality Sphere Maintenence Labs: Head into the closed office with a power switch on the wall. The door will lock behind you, and the switch is stuck.
Look for the photocopier to find a disc. You can place this disk into the computer to unlock the switch, restoring power to the labs.
A personality sphere will appear in the corner. Speak to her and pick her up.
Carry your new friend until you find a dark room. After a short speech she’ll turn on her flashlight. Follow the path. After another short scene in an office, you’ll need to plug the sphere into a wall to unlock the path forward. Head across the open area to a set of stairs, and you’ll find an elevator at the top. Get on to complete the chapter.
Chapter 6: The Climb
Head forward and the sphere will point out a management rail. Place her on it, then shoot a portal at the wall and head to the door. It can be hard to make out, but there’s a spot high up on the wall you can portal to.

Follow the path to the first test chamber.
Chamber 1: The sphere will introduce herself as Emilia, and explain that she’s a researcher who had a copy of her brain got uploaded into the sphere against her will.
You need to get the cube into position behind the emancipation grill using the pipes so you can put it on a button, but there are two issues. The first is that you only have one cube. The second is that you need a little momentum to get the cube high enough for the inflow pipe to get it.
Take the cube and carry it into the pit, then place it on the button to activate the stairs. Climb up and turn around. Shoot one portal at the wall here, and another on the wall where you started, then cross through. Now, put one portal beneath the inflow tube, and one beneath the pipe which will drop a cube. Now, head back over to the other side using the ramp and flick the switch. The ramp will disappear, but the cube will drop exactly where you need it. Just cross through the emancipation grill and place it on the button to complete the room.

Follow the path until you reach a high wall with 02 painted on it. Shoot one portal at the number and another at the wall nearby to portal up to it. Along the way, you’ll learn some more of Emilia’s backstory, referencing a few familiar faces.
Once you reach a flooded area, look to your left to find a walkway. Follow it to find a white wall. Shoot one portal here and look to your left to see another surface in the distance you can portal to. Head through and continue along the path to reach the next room.
Chamber 2: You’ll see a tube dropping propulsion gel on the cieling above a white surface, as well as a white wall and angled surface you can use to redirect it. Use portals to get a decent covering of gel on the floor. Make sure you have a nice run-up to the white wall, then place one portal on it and one on the angled surface. Run on the gel towards the first portal and you’ll shoot out of the second, reaching a walkway. This may take a few tries, but we found that placing the portal high up on the angled wall and starting our run from the top of the ramp in front of the red grill gave us the speed we needed.
Head into the office, flip the switch, and lay a red portal on the wall. Now, head back down. With the grill gone, you can use the gel to jump across the chasm. Place a blue portal on the wall here and head through. Back in the office, flick the switch to turn the power back on, then head back through to leave through the now unlocked door.

Head through the boring presentation room. You’ll need to find the stairs, go up, jump down through a broken window, and eventually hop another window to proceed.
Once you reach a room where the lights are on, portal through the ajar door, then hop the window and continue along the path. You’ll eventually reach a flooded area at the base of the spire. Head right until you find a wall and portal over to the spire itself. Head up the stairs and shoot a portal at the walkway opposite, then head back down to the ground and head through.
Climbing the Spire: You’ll reach a door with a valve lock. Head inside to reach a tall room. shoot a red portal on the ground and a blue one at the walkway. Pass through, then shoot another blue portal at the angled wall above you and jump down through the red one. Next, shoot another blue portal at the white floor nearby and once again jump down through the red portal. You’ll be pushed onto a walkway.
From here, head up and activate the pipe with the repulsion gel. It will shoot out onto a wall, and bounce off that onto another. Jump onto the wall and you’ll bounce between them, reaching a circular walkway. Head around to an exit door.


Outside the Spire: Turn to your left and look up to see a portal surface. Throw a blue portal here then head back inside and jump through the portal you left on the ground below. This will carry you across the chasm.
There’s an angled wall nearby. Throw a red portal here, and step through to where you just were. Now, go back into the spire and jump down, throwing a blue portal beneath you. Again, this will shoot you across the chasm. Head through the office and portal over to the door. It’s locked, but you can follow the path to the right to find another one.
You’ll come to an office with a garbage disposal tube outside a window. Shoot a portal at the wall, head through the open door, aim another portal past the gate, then activate the switch. Now, head through the portals and jump into the tube.
Garbage Disposal Chamber: Head up the stairs, collect the cube, and portal over to the button. This will unlock a door, but shut the exit door. All you have to do is head through the newly open path and shoot a portal beneath the garbage disposal tube to push the cube out of the way, unlocking the exit.
Follow the path to a dead end and portal up to the walkway above you. Head through and you’ll reach Chamber 04.
Chamber 04: Through the window you’ll see a ball caught in a loop between two tubes. Wait for it to emerge from one and quickly press the switch to activate an excursion funnel, which will carry it over to you. It’s on a timer, but if you time it right it should land nearby. Place it in the receptor. Then, follow the walkway until you get to a room with orange gel caught in the loop.
Step on the button to activate another funnel which will gather the gel. Use it to create a runway to the white wall. Shoot one portal here and another at the angled surface next to it, then run through to reach another area.
There’s a switch here you can press to activate another chute. Press it and throw a portal beneath it. Nearby you’ll see a white wall opposite some repulsion gel. shoot another portal here to create a runway, which you can now use to run up to the repulsion gel. the momentum will carry you across the room.
Head up the stairs and through the grill. The bridge here is broken, but there’s a white wall you can use. Shoot a portal at it and then head to the edge. You can shoot another portal below the propulsion gel tube. This will cover the corridor, giving you the speed for a running jump across the gap. Carry on to reach an elevator.
Chamber 05 and Chamber 06: Look up and shoot a portal at the white patch on the ceiling, then shoot another at the angled wall where the gel is landing. When you’re done, step on the button to activate the garbage chute, spraying gel everywhere. Use it to jump the gap and head forward to an elevator.
You’ll reach Chamber 6, a room with three gels dropping from tubes. There are two solutions here, each offering a different achievement.
Portal up to the platform on your left, you’ll see a button that controls the garbage disposal pipe. Ignore it for now.
Start off by shooting a portal beneath the orange gel, and another at the wall below you to create a runway. Next, step on the button and shoot one portal at the angled surface, and another beneath the white gel. This will create a new portal surface. Finally, place one portal beneath the blue gel and another at the midpoint of the new white surface. to cover the middle section.
To complete the room the boring way, shoot one portal at the end of the runway you created and another on the white wall you created. Run through and you’ll bounce off the middle section onto the walkway.
To complete the room the fun way, keep the portal beneath the blue gel and another on the angled surface. Step on the button to activate the disposal chute, covering the newly created white wall. Jump down and place a portal at the end of the runway, with another on the angled surface. Run through the portal and you’ll bounce three times, landing on the walkway.
Whichever way you choose, head through the exit and keep going to another elevator.
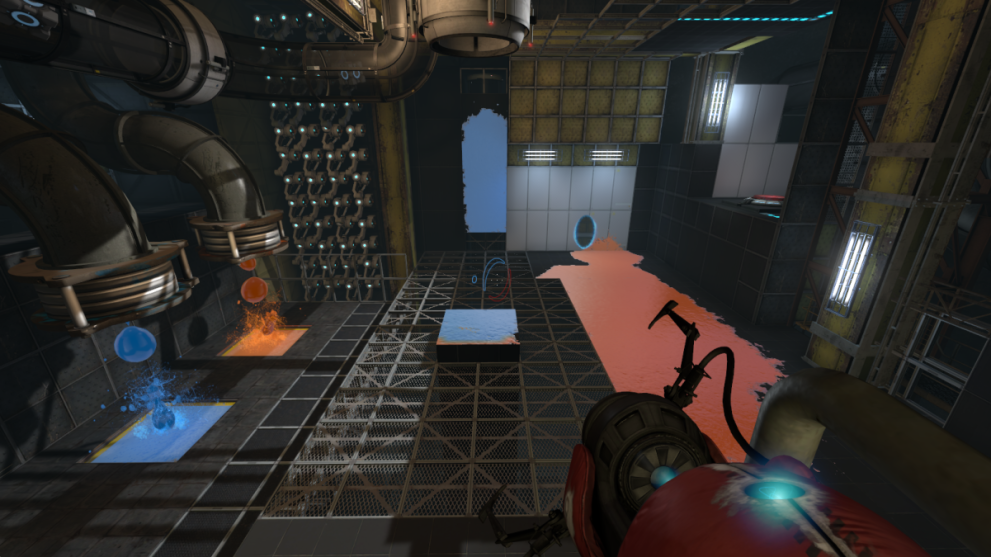
Spill Room: This is the biggest “room” in the game so far and, while the mechanics are easy enough to understand, the right portal placement can be tricky, and the “right” way feels like the wrong one. Bear with us.
There’s a tube leaking portal gel onto the floor. Place a blue portal beneath it, then look for a white patch of floor near a pillar to your right, with a walkway above it. Shoot a red portal here to drench the wall. Put another red portal on the wall to gel up the small pillar opposite, and then put a red pillar here to create a white surface above the walkway.
You’re not quite done yet. Head back to where the gel is dropping and place a red portal on the floor with the tube behind you to shoot more gel ahead of you. Head to it and turn to your left. Aim another red portal to the ground to gel up the floor beneath the angled wall in the alcove.
There are two ways to progress here.
The easy way is to head back to the walkway and keep spreading portal gel above it. Once you’ve gotten it as high as you can, portal to the highest space available above the walkway. You’ll drop down. Follow it to the end and jump onto the surface below you, placing a portal as you do so. You’ll shoot out and land on top of the yellow structure ahead of you.
The hard way is to place a portal on the angled surface until you eventually drench the floor on the lower section of the structure. Climb onto the walkway and use a portal on the angled wall to reach this section. If you’ve done it right you’ll be able to place a portal here. Jump through, head over to the gel, place another portal, and step through. Use both this section of the structure and the wall opposite until you’ve drenched the rafter above you. It’s a little tricky to place, but eventually you’ll be able to shoot a portal on it. Place another on the wall and step through, moving as you do so to land on the roof of the structure.
On the roof, follow the pipe and look down to see the gel dropping out far below. Open a portal here and cover as much of the ceiling possible, then look across from you to see another platform. You’ll need to reach it by getting gel on the pillars and ceiling above it. This takes some patience, so keep moving the portals around until you can portal over.
Look around for a large white wall below a ramp. throw a red portal here, then step on the button to move white floor panel beneath the gel. Throw a blue portal down to drench the ramp.
Throw a red portal onto the ramp, then go to the edge and jump down, shooting a blue portal beneath you as you fall. You’ll land on a platform near a cube. Grab it and put it on the button.
Throw one portal on the ramp and another on the panel beneath the gel to drench the area where you got the cube. Make your way up here and spread the gel everywhere, making sure to get the little wooden ramp on the left of the platform. Shoot a blue portal here to drench the area above you, then jump down, remove the cube and go all the way down to the bottom again. Throw a red portal beneath the outflow as it falls at a better angle, then jump through. Use the portals to spread the gell all over the area, eventually shooting it at the wall above the walkway.
Portal to the walkway and follow it to an elevator which will finally let you leave the area,
Chamber 07: Portal through the vent and head around the corner to the elevator. Head through the emancipation grill and press the switch to pick up a cube and place it on the button to disable the grill.
Look up to see a white wall. Portal up to it and climb the ramp to a switch and a button. Stand on the button to activate an excursion funnel. Now, shoot one portal beneath the chute and another behind the cube. It’ll get sucked through the pipe and emerge into the funnel. Wait for it to be carried over solid ground, then step off.
Move down and put the cube on the button to reverse the beam. Now, head back up to the area just below the switch and button.
Throw one switch at the spot where the excursion funnel will land, and another at the white surface to its left. When that’s done, head back up, flick the switch, and quickly step on the button. A cube will drop and get caught in the beam. Wait for it to drop below you and run down to grab it. Portal back up and place it on the button to keep the funnel up.
Head back toward the emancipation grill where you placed the first cube. To its left is a white wall. Shoot a portal here and the funnel will carry you towards the exit gate.
Chamber 08: Throw a portal at the first white wall you come to, then continue along the walkway until you see three white walls to your right. Shoot a portal at the furthest one and then pass through.
Look through the grill beneath you and you’ll see two white floors. Aim a portal at each of them and then jump through the hole. Once you emerge from the portal and get shot into the air, quickly shoot another portal at the patch of white wall. If done correctly, you’ll emerge and fly over to another walkway next to the entrance to Chamber 08.
Step into the pipe and you’ll emerge next to a button and switch. Jump down and head to the edge. There are two walls above you – shoot a blue portal at the higher one. Then look down and to your left to see another one. Place your red portal here.
Press the switch to drop a cube which should land nearby. If not, readjust the blue portal, or try to catch the cube in mid air. Once you have it, drop it on the button to activate a light bridge above you. Place a red portal opposite you to extend the light bridge towards you. Pass through, look down, and aim a red portal at the blue spot on the portal surface below you, head back through the blue portal. Cross the bridge across the chasm until you’re over the aerial faith plate.

There’s a white ceiling you can reach – shoot a blue portal here. If you’ve lined it up right you’ll land on the plate and bounce through the portals, getting back to the area with a switch and button. Press the switch and the cube will drop, following your path. Put it on the button to unlock the exit below you. Exit, then grab Emilia and enter the elevator.
Chapter 7: The Collision
After the scene, head through the broken window and head right. Follow the path until Emilia asks you to put her on a rail above you. Do that and she’ll unlock the door. With your gun free, you can portal through the broken window into the next room. Go into the lift and follow the path.
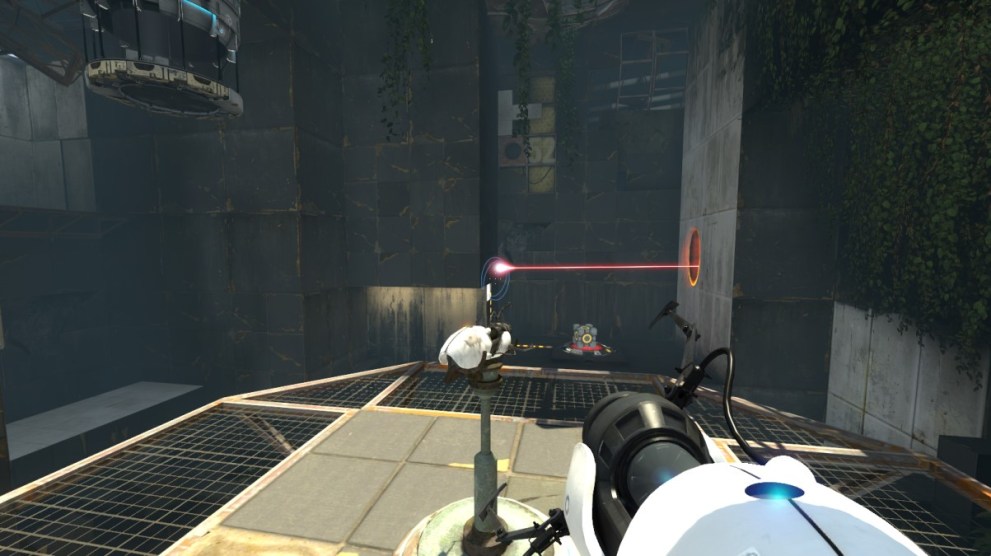
Chamber 01: You’re introduced to Schrodinger’s cubes here. Any laser that goes into one will exit the other. Use one to catch the laser, and take the other to aim the laser at the receiver. This will lower the barrier. Head through and shoot a portal here, and one near the second cube. Grab it, and use the portals to carry it to the next receiver.
Chamber 02: Head through the grill to your left and portal over the water to the Schrodinger’s cube. Pick it up and place it beneath the laser.
Head back through the grill and jump into the pit. Pick up the second cube and aim it at the receiver to activate a second laser. Place the cube beneath it, so that it’s still pointing at the receiver.
Head back to the first cube. Pick it up and aim it at the receiver, then portal over to the exit gate.
Chamber 03: Shoot a blue portal where the laser is aiming, then pick up the nearby cube and take it to the white wall towards the end of the room. Shoot a red portal here.
Your goal is to line the cubes up in such a way that repositioning the portal will hit either the light receiver on the wall, which will open the way to the higher platform, or the two prisms on the floor, which will open the exit door. Once you’re satisfied, head to the lift opposite the cubes and shoot a portal to activate it, step onto solid ground, and then shoot a portal to open the exit gate.
Chamber 04: There’s a reflection cube here as you enter, and two Schrodinger’s cubes will drop in as you progress.
Put a reflection cube in the path of the laser, aiming at the white wall. Shoot a portal here, then head around the corner and put another portal on the white wall so that the laser hits both prisms. Once they’re activated, grab one of the Schrodinger’s cubes and place it past the second prism to catch the laser. Once that’s done, simply grab the other cube and place it so that the laser hits the wall receiver. Exit the room and head to the elevator.
Chamber 05:
Pick up one of the Schrodinger’s cubes and place it on the platform. Try to aim it so that the laser is pointed directly at the receiver. It can be tricky to work out, but keep in mind that the point where the laser emerges will always be opposite you. Once you’re satisfied, grab the second cube and jump into the pit. Place a red portal here and a blue one on the platform you just left.
Head over the bridge you’ve created to an aerial faith plate. Step on it to reach a new area. Place a blue portal here, step through to grab the cube, and place it in front of the receiver. If you’ve lined it up correctly, the exit door will open.
Chamber 06: Step on the aerial faith plate and press the switch to release two Schrodinger’s cubes. Place one beneath the laser and another one facing the white wall. To make sure it’s lined up correctly, shoot one portal at the white wall ahead of you, and another at the patch of wall above you and to the left. The laser should hit the receiver.
Turn around and shoot a portal at each of the angled surfaces you see, then jump down onto the lower level and step onto the aerial faith plate.
As soon as you emerge from the second portal, quickly shoot portals at both of the white surfaces to hit the laser receiver, lowering a platform to catch you.
Shoot a portal on the floor here and jump through to grab the cube where the laser is emerging. Use the laser to eliminate the turrets through the window, then aim it at the laser receiver to unlock the exit. Head to the lift.
Chamber 07: Head to your right and look around the corner to see a white surface higher up on the wall. Throw a blue portal here, then turn around and step on the aerial faith plate. You’ll be sucked through a pipe. As soon as you emerge, aim a red portal at the platform you’re heading towards. You’ll fly onto a higher level with a switch.
Look to the ground and aim a red portal at the floor, then flick the switch. Repulsion gel will fall from the ceiling, through the portals, and cover the platform you’re on. Once you’re satisfied, jump back down to the lower level. Once again, step on the aerial faith plate, go through the tube, and shoot a red portal at the platform you’ll land on. This time, you’ll bounce upon landing and end up on a further platform.
Grab both of the cubes here and drop them down to the ground. Place one under the laser and place the other so that it hits both the prism and the receiver to turn off the water, then make your way back up to the switch. If you move to the right after emerging from the portal you should miss the repulsion gel.
Place another portal on the ground, and the second portal on the white wall above the aerial faith plate. Press the switch and the gell will drench the white platform that the chute usually spits you towards.
Jump down to the ground, pick up the cube the laser is shooting from, and portal back up to the start area. Drop it onto the aerial faith plate and it should bounce towards the end of the room. Follow after it, then aim it at the laser receiver to unlock the door. Head into the elevator to complete chapter 7.
Chapter 8: The Remote Execution
Straight away, Stirling will trap you in a room. After a few moments Emilia will open a hole in the wall you can portal through. Listen to Stirling’s speech if you want, then head through the portals and follow Emilia.
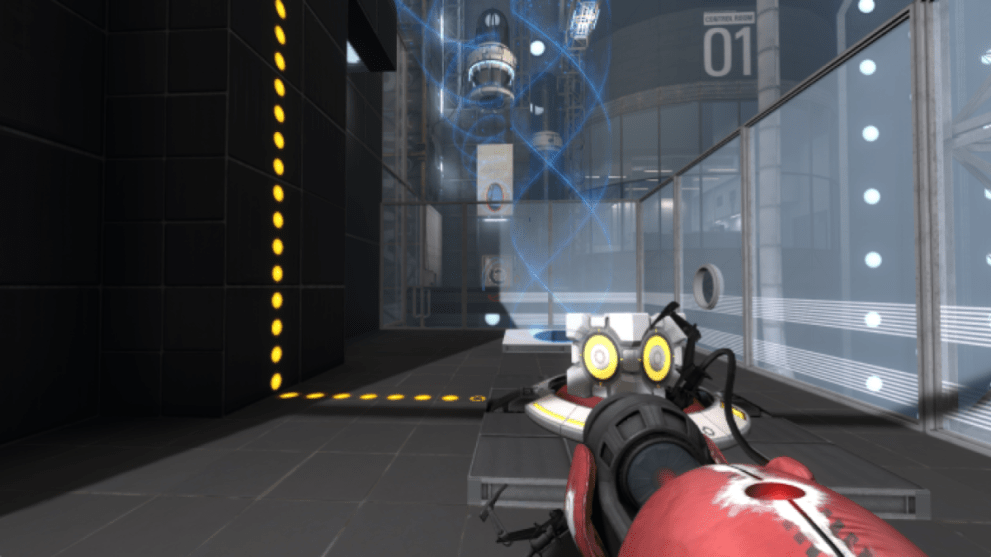
You’ll reach a room with a chasm. To your left is a white floor, with a white wall far above you. Portal up to this scene wall, aiming for the section through the grate. When you’re up here look for a hole in the floor. Shoot one portal directly beneath this hole and another on the highest section of wall you can see. Jump down, and you’ll be shot across the chasm.
Climbing the Spire: Head into the Spire. Shoot a blue portal at the wall here, and then look for a vent on the floor. You can shoot a red portal through the vent. Step through and look up at the pipe. You should be able to shoot a portal at the ceiling of a higher floor to reach it.
Head through the open doorway and shoot a portal at the wall here, aiming another at the wall past the fan. Now, shoot a blue portal at the wall above you and a red one on the floor below it. You may need to readjust the floor portals a few times, but eventually you can jump through the bottom portal, fall through it after emerging from the top one, and use the momentum to reach a higher level.
Shoot a red portal on the ground and carefully step through. As soon as you’re falling, look to your feet and shoot a blue portal. You’ll shoot back out of the red portal and can reach a higher level. However, the door is locked.
Look at the floor you just shot up from and move your red portal as close to the far wall as you can, then turn around and head to the other side of the platform you’re on. Jump down and shoot a blue portal at your feet to bounce up from the other one, reaching a higher level again.

Head through the doorway to the incinerator. Shoot a blue portal at the high point of the white wall behind you, go back to the previous room, and jump through the red portal to fly across the incinerator.
Press the switch to shut the incinerator, and shoot a blue portal at the ground beneath the chute. Head back to the previous room and jump through the red portal to go through the chute to a higher level. The exit is angled, so it may take a few tries, but eventually you’ll be on solid ground.
Facing Stirling: You’ll find yourself back in the teleportation chamber from all the way back in chapter 4. After a brief chat between Stirling and Emilia, Head up to the higher level and listen to another conversation. Put Emilia on the claw in the corner when she asks, then press the button.
Pressing the button will start a timer. Your goal is to disconnect every tube from the center of the Spire within five minutes. Jump down to the lower level and head through the door.
Look across the chasm towards the test chamber and shoot a portal here, then shoot another at the nearby wall. grab the cube and carry it through, placing it on the button on the floor. Head through the door that opens and then step onto the aerial faith plate to reach the second control room. Head inside.
There are turrets in this room. Quickly head to your right to grab the one aiming at the door and use it to knock over the one nearby. After that, sneak up to the one near the window to pick it up and drop it.
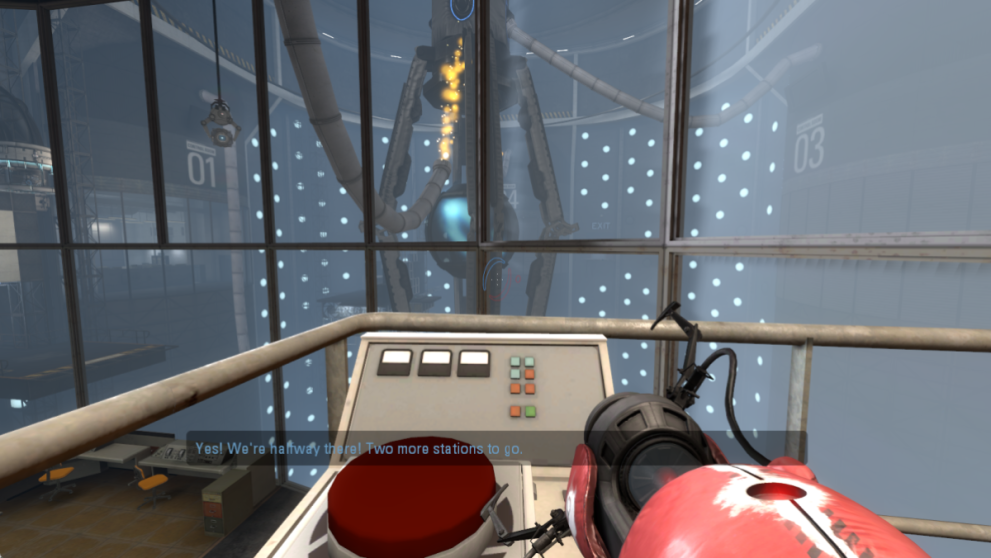
There’s a walkway above you you need to reach. Throw a portal on the wall and another on the floor and jump through. The momentum when you exit the wall portal the second time should be enough to carry you across. Follow the walkway to the second button. Press it to disable the second tube, as well as slow down the countdown.
Head back the way you came to find a white wall ahead of you. Shoot a portal at the wall and another at the wall across the chasm to your left to reach the starter area. Portal back over to the test chamber with the cube and place it on the button. This time, there’s a second test chamber in the path of the aerial faith plate. Shoot a portal through the hole in the wall and another at the floor to reach the cube. Pick it up and place it on the button you just found to activate an excursion funnel.
Shoot a portal at the floor beneath the funnel and another at the white wall above the starting area, which you can see through the glass wall. Once you’re done, step into the funnel to be carried to the next control room.
There are more turrets here. Grab the one nearest to you and disable it, then shoot a portal at the wall behind it and another at the wall opposite. You should be able to disable the next turret from here. Finally, aim a portal behind the turret on the platform and head up to it to disable that one as well.
Shoot a portal high on the wall and another at the floor. Jump through and the momentum should help you reach the button, disabling another tube and once again extending the timer.
Head back the way you came and shoot a blue portal at the wall as soon as you pass the emancipation grill. Look at the new test chamber that’s appeared and shoot a red portal behind the turret you see. Step through and quickly shoot a portal beneath the further of the two turrets, then grab the one right next to you and drop it. After that, once again shoot a portal at the high wall above the starting area.
Complete the first two test chambers again. This time, the excursion funnel will carry you to where you just fought the turrets. Throw one portal on the floor in front of the angled surface and the funnel will carry you up. Once you’re high enough, shoot a portal at the angled surface to stop the funnel – you’ll fall through the portal beneath you and fly across to the final control room.
There’s a turret on a white surface. Shoot a portal beneath it and another behind it to disable it. When that’s done, look up and to your right and shoot a portal behind the turret on the walkway. Hug the wall to your left and move around the tube to disable the turret here, then shoot a portal at the nearest wall and step through to reach the walkway and disable the turret.
Place one portal high on the wall facing the button, and another on the white floor. Jump through this portal and you’ll reach the final button. Press it to complete the game with a bang.
Stick around after the credits for another scene, finally ending your journey through Aperture Science, and ending up somewhere even stranger.
That concludes our guide to Portal: Revolution. Still thinking with Portals? check out some more Portal 2 mods to keep you screaming in frustration for days to come.
About the author

