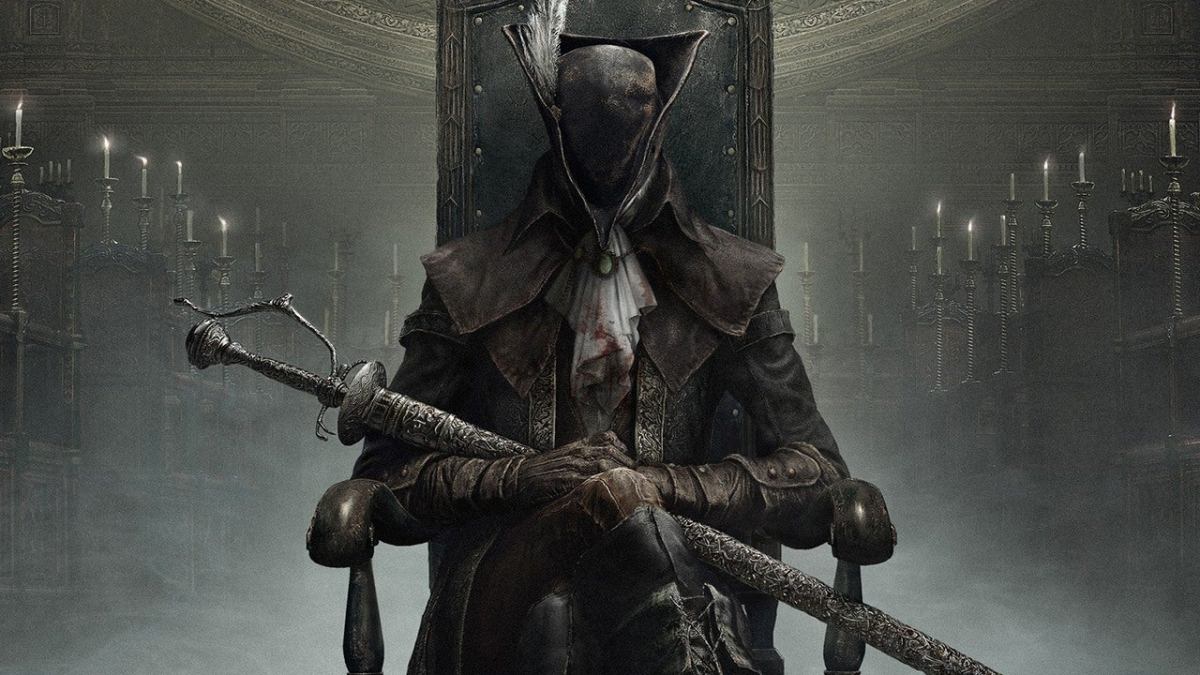
Those of you who have been steadily progressing through Bloodborne may have already noticed a pattern by now. The bosses don’t get easier. In fact, they become more complex. Bloodborne does a good job of not just making every successive challenger more aggressive. Instead, each new boss forces you to think on your toes as you adapt to situations and figure out just what the heck you’re supposed to do. In this guide, we’ll teach you how to beat the Shadow of Yharnam in Bloodborne.
How to Beat the Shadow of Yharnam in Bloodborne
You’ve probably already figured out by the featured image that you aren’t fighting just one enemy during this boss fight. You are actually fighting three very different, very powerful bosses at once. To make matters worse, you don’t have much wiggle room as you dance around each Shadow of Yharnam, looking for an opening, because the fight takes place in a relatively small room with a few obstacles in the way. Oh, and if you think this is gonna be a one-by-one affair like with the Witch of Hemwick, think again.
The Shadows of Yharnam come in three types. The first is melee fighter with a large katana. This guy is fast and powerful. He will spend the majority of the fight trying to get up close in personal for a little one-on-one time. The second is similar in that he also brandishes a large blade, but he also carries a candle that he uses to blow flames at you, and he’s a bit more laid back than the other sword bearer. The third and final Shadow of Yharnam is a sort of mage-like individual. This one will hang back at all times throwing fire balls at you every chance he gets.
Keeping with the spirit of the threes, the Shadow of Yharnam boss fight has three phases. The first one has you facing the three beasts in their normal forms. The second, triggered by eliminating a third of the entire group’s health causes each Shadow of Yharnam to undergo a transformation that makes them stronger and, if you could believe it, uglier.
The final phase is triggered once two of the Shadows are dead, and this provides the last man standing with a powerful ability that it will use to try kill you as quickly as possible.
As far as which moves to watch out for, that’s something you shouldn’t really concern yourself with until the second phase. You want to dodge absolutely everything during the first phase, especially since you’re going to try and focus on a sole Shadow of Yharnam.
Move in for an attack, swing once or twice, then immediately go back on the defensive. The Shadows of Yharnam take a considerable amount of damage from even your basic attacks, so no need to get greedy, you’re going to want to save your Blood Vials for later.
Speaking of Blood Vials, no other item is really necessary for the Shadow of Yharnam boss fight. Throwables will prove to be pretty useless since you’ll almost never find yourself at a standstill.
And since fire doesn’t affect these guys as well as it does any other boss or beast, you’re better off saving your Molotov Cocktails. If you happen to have Bolt Paper, that will prove useful for some extra damage dealing, but don’t stress yourself out too much if you can’t afford any.
Now that you have yourself situated, it’s time to strategize. So who do you go for first? The second and third phase provides a damage buff, and increased move set for any surviving Shadow of Yharnam. For that reason you’ll want to get rid of the ranged fighter as soon as humanly possible. His fireballs have a slight homing ability to them, so those are definitely something you don’t want to deal with once the heat gets turned up.
You’re going to want to focus on this one as much as possible. Once about 20% of their combined health is gone, the second phase is triggered. This means you can come pretty close to eliminating the ranged Shadow of Yharnam before the second phase begins.
Once it does start, stay locked on to the ranged one. All three will start convulsing as snakes come out of their bodies. Use this opportunity to quickly dispatch the mage so you can move on to more pressing matters.
So now you’re in the second phase of the Shadow of Yharnam boss fight, this is where things get interesting. If everything went according to plan, you should have only two enemies to deal with. Their combat range has been more than doubled thanks to the new snakes that have appeared on their bodies. The melee one with the large sword will become even more aggressive, making him your primary target whether you like it or not. This doesn’t mean that you should forget about Mr. Candle Holder. He can also use snakes to close the distance and do massive amounts of damage, so be wary at all times as you go in for an attack.
Since the highly aggressive Shadow of Yharnam is your new target, there are a few things you should be doing. The first is to never stand directly in front of him. If at any time you find yourself face to face with him, roll. He will use his snake spear attack which has an annoyingly long range.
If he lowers his sword to the ground or raises it directly above his head, he is going to perform a very long slash. Use this time to get beside him so you can start whittling away his health bar.
One strategy that may help you set up an easier phase three is to switch your focus whenever possible between the aggressor and the Shadow of Yharnam that holds the candle.
Unlike the transition to the second phase, the third phase will only begin once you kill your second Shadow of Yharnam. You can use this knowledge to your advantage and bring your selected phase three target as close to health as possible before eliminating the main sword-bearer.
As far as moves go, the candle holder does pretty much everything that the other sword user does, just at a lower frequency. Never stay too close though, because then it will breathe fire in an attempt to trap and kill you. Remember, you’re not trying to kill this one just yet, so get your shots in and return to your primary target.
The slow fight will benefit you. Never get too greedy, and just wait for openings. In due time, you’ll take down your second Shadow of Yharnam so that you can move on to the final phase of the fight. If for any reason you find yourself taking a ton of damage, put one of the large obstacles between you and the Shadows so that you can drink a Blood Vial.
Once you’ve defeated your second Shadow of Yharnam, you are one step closer to victory. If all has gone well it should be you versus a significantly weakened Shadow of Yharnam that carries a candle.
This form is not as aggressive as what you’d expect, but he does now have one new, very powerful ability. Every now and then the Shadow of Yharnam will begin to glow red and stand completely still. This means it’s summoning large snakes from the ground to attack you.
If you happen to be close to the boss this is a golden opportunity. The enemy will be completely unable to defend itself while performing this summon. That means you have a few seconds to use some charged heavy attacks in order to seal the deal.
If for some reason the boss still has health left after your attack, dodge… a lot. The snakes that the Shadow of Yharnam summons are just an attack that will disappear in a few seconds, so there’s no reason to attack them. But, you should know that just one attack from one of these bastards will take most of your health if not all of it.
Be patient and wait for the opening to reappear and you’ll find yourself with yet another Bloodborne boss notched under your belt. Now claim your Blood Rapture Caryll Rune. You really are becoming a force to be reckoned with.
That’s all you need to know for how to beat the Shadow of Yharnam in Bloodborne. For more guides, tips, tricks and information make sure to check out our Bloodborne wiki.


