The Division will have you taking down groups of enemies in the streets of Manhattan. While you can grab some pretty high-end weapons by completing missions and venturing into the Dark Zone, sometimes you’ll need to make a couple of improvements to your weapons.
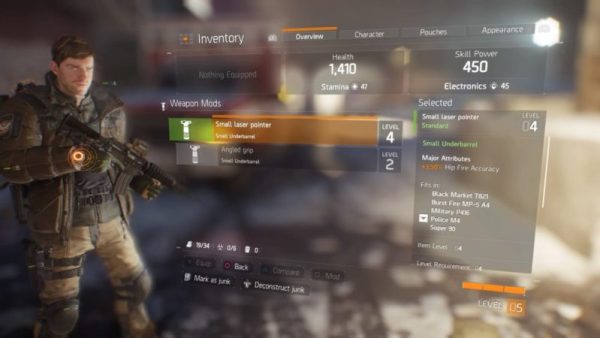
Whether it’s giving your weapons a sight, attaching extended mags or adding a silencer, your weapons can be changed and modified in a number of different ways. To modify your weapons, you’re first going to need these individual parts to add onto your weapon of choice. These parts can be found on enemies when they’re defeated, through completing missions, or through purchasing them from your base. Once you’ve acquired these items, you’ll be able to find them in your character’s inventory.
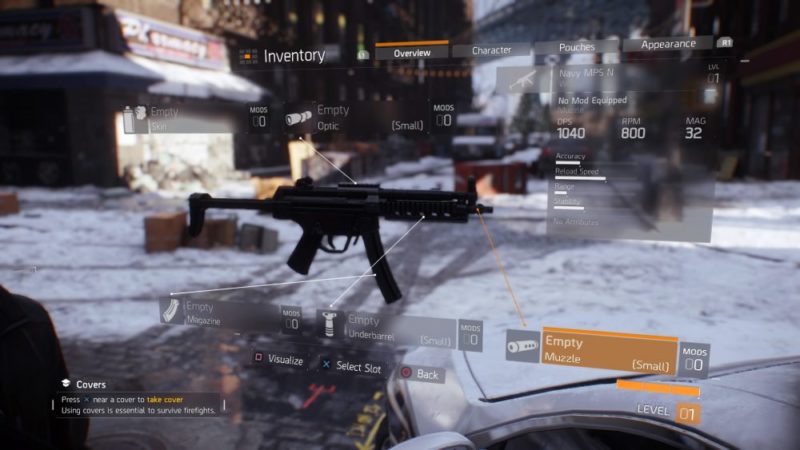
To add the attachment onto your weapon, open your character layout menu. Once here, move up to your weapon loadout and select the weapon you want to add the mod onto by hitting the X button on PS4 or A on Xbox One. When you’re into this menu, you’ll see slots next to each different corresponding part of the gun that you can add a modification onto. Find the slot that corresponds with the mod that you want to apply to your gun. Select the slot, choose your modification, and confirm it by pressing X/A. Congratulations, you’ve just applied your first mod to your weapon!